The best way to photograph clothing depends on your catalogue

Ask ten fashion brands the best way to photograph clothing and you will get ten answers, all of them correct for the brand that gave them. That is the honest starting point, because the question has no single answer.
The best way to photograph clothing is whichever method gives you accurate, consistent images across your entire assortment at a cost and speed your calendar can absorb. Which method that is depends on three things: what you sell, how many styles you carry, and how fast the range turns over.
Most guidance skips that. It teaches lighting and composition for a single beautiful frame, which is a different problem from producing eight hundred frames that match each other.
Here are the four methods brands actually use, what each is genuinely good at, and how to work out which one your catalogue needs.
Why the honest answer is "it depends on your catalogue"
Photographing one garment well is a craft problem. Photographing a whole range well is an operations problem, and the two have different solutions.
A studio setup that produces a stunning hero shot may be completely wrong for four hundred SKUs on a six week drop cycle. Conversely, a fast repeatable method may be wrong for the one campaign image your brand is judged on.
The variable that decides it is usually assortment width against release frequency. Narrow range, slow turnover: craft each image. Wide range, fast turnover: the method has to scale or the long tail goes uncovered.
Accuracy is the constraint that never relaxes, whichever method you pick. Shoppers judge fit and quality from photographs, and when the garment arrives different, it comes back. An estimated 19.3% of online sales were returned in 2025, with total retail returns projected at $849.9 billion, according to the National Retail Federation.
The four methods, and what each is for
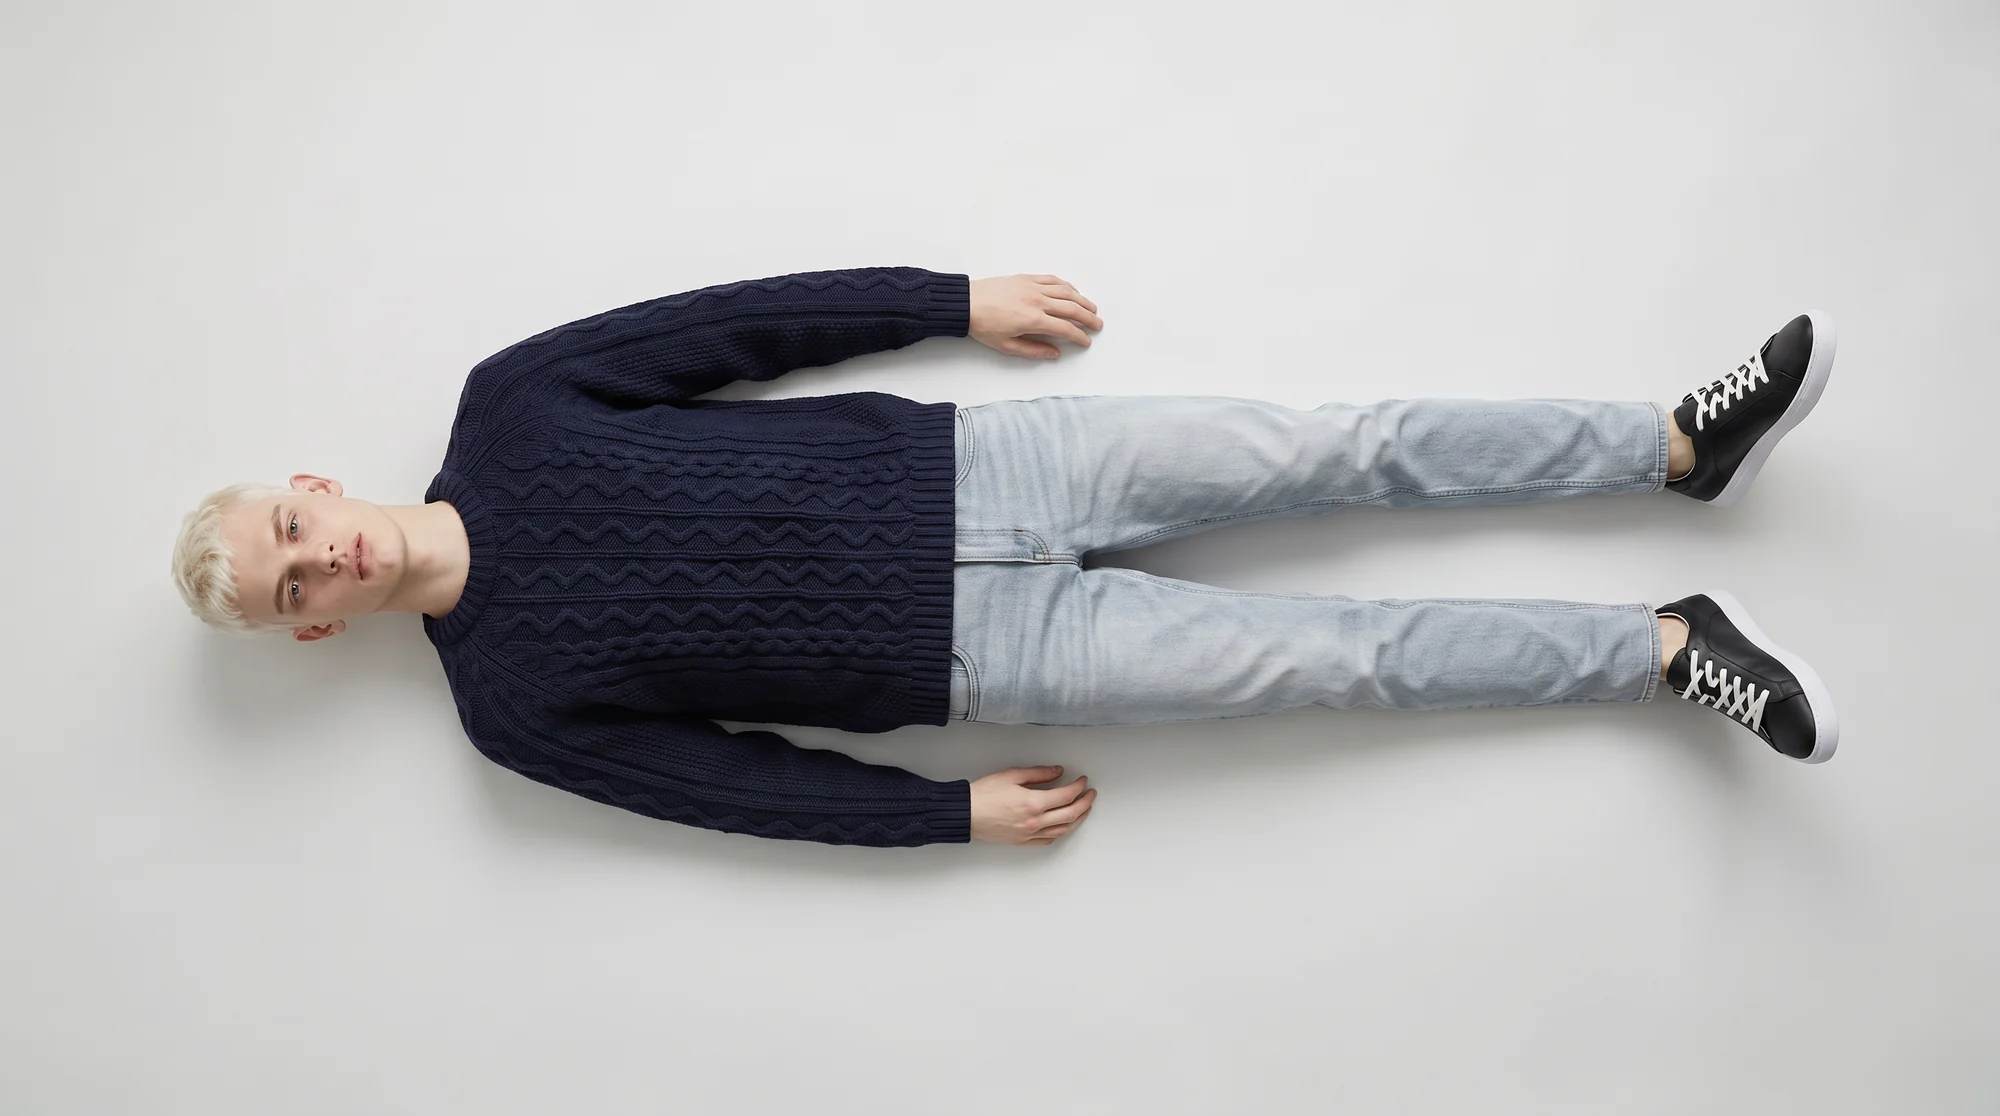
Flat lay. The garment photographed flat from above. Fast, cheap, repeatable, and honest about colour and pattern. It is poor at communicating fit and drape, which is exactly what apparel shoppers want to know.
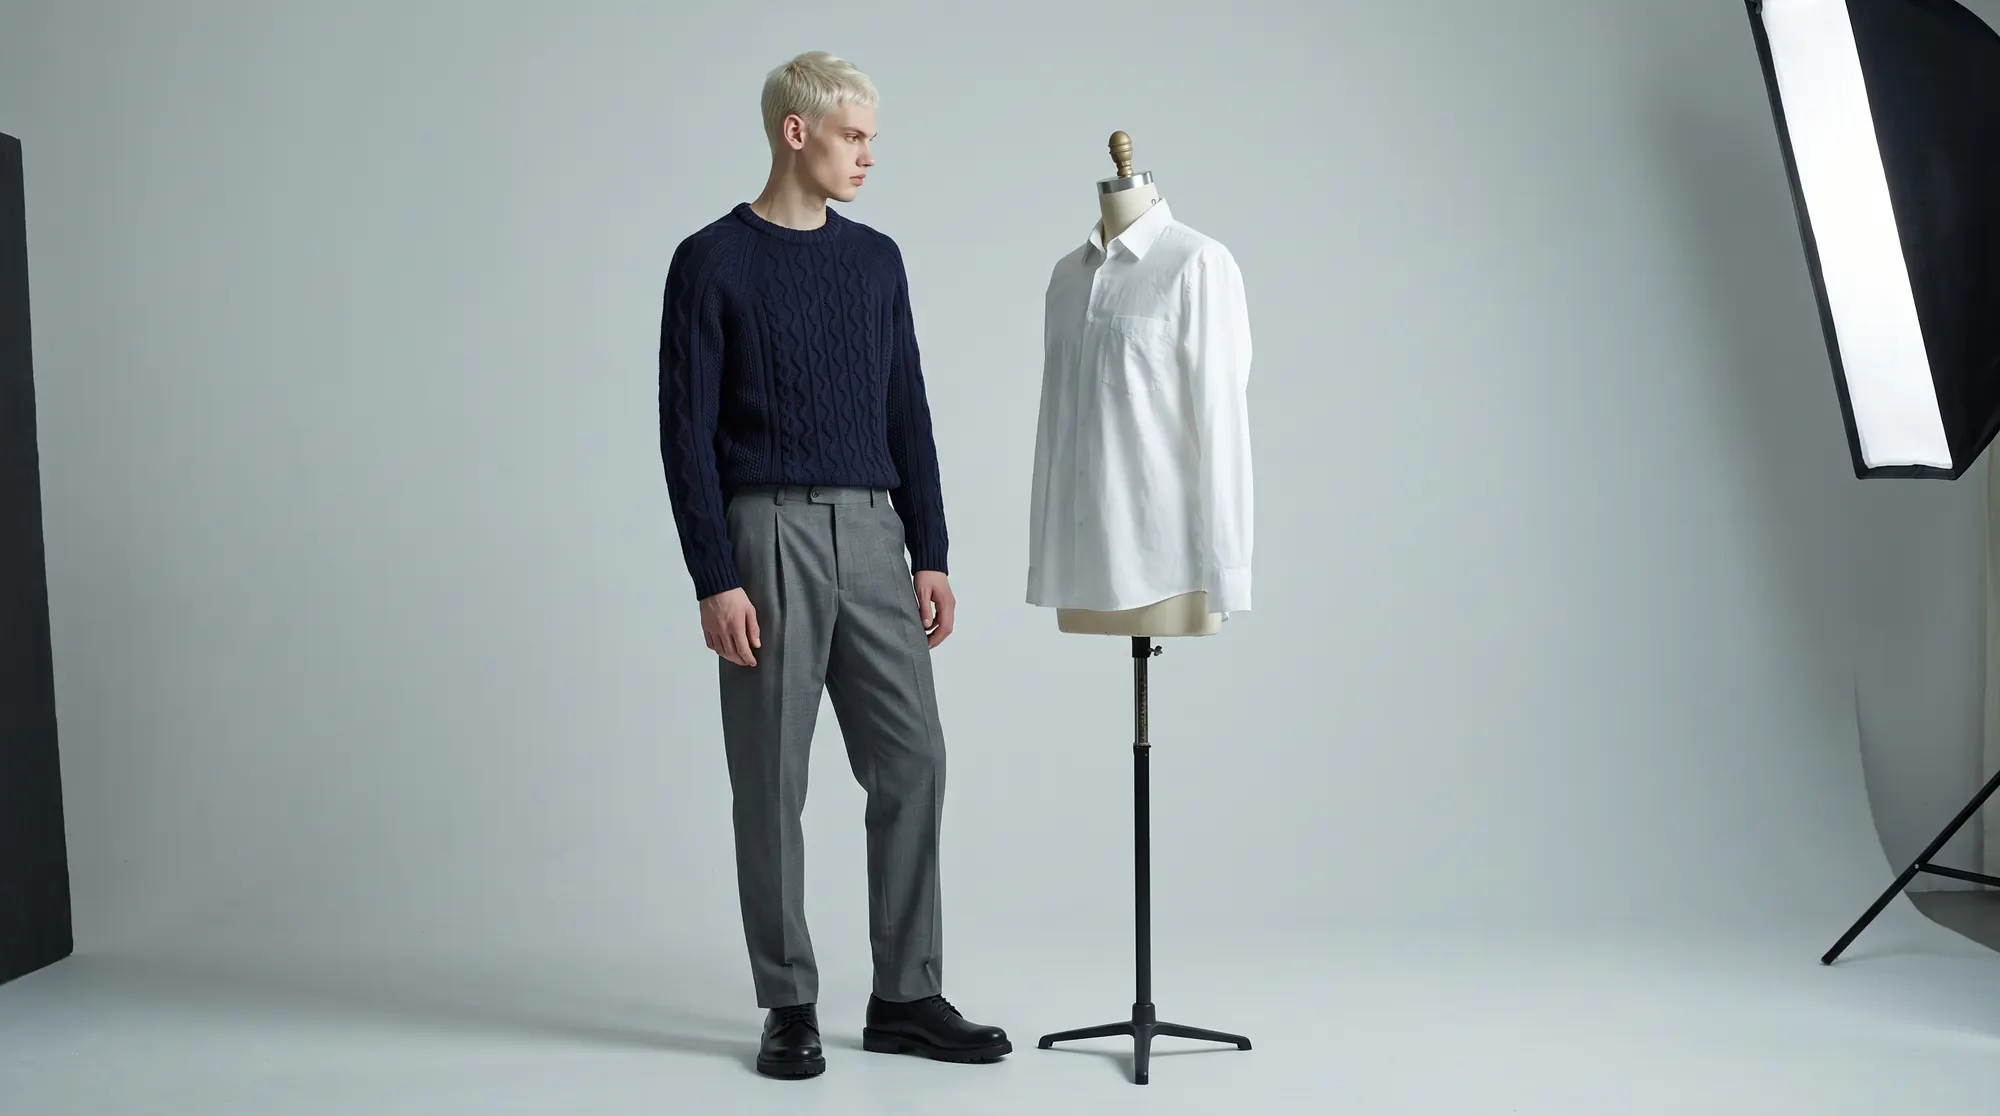
Ghost mannequin. Shot on a mannequin, then the mannequin removed so the garment holds a three dimensional shape. Better than flat lay at showing structure, still not a person, so fit remains an inference.
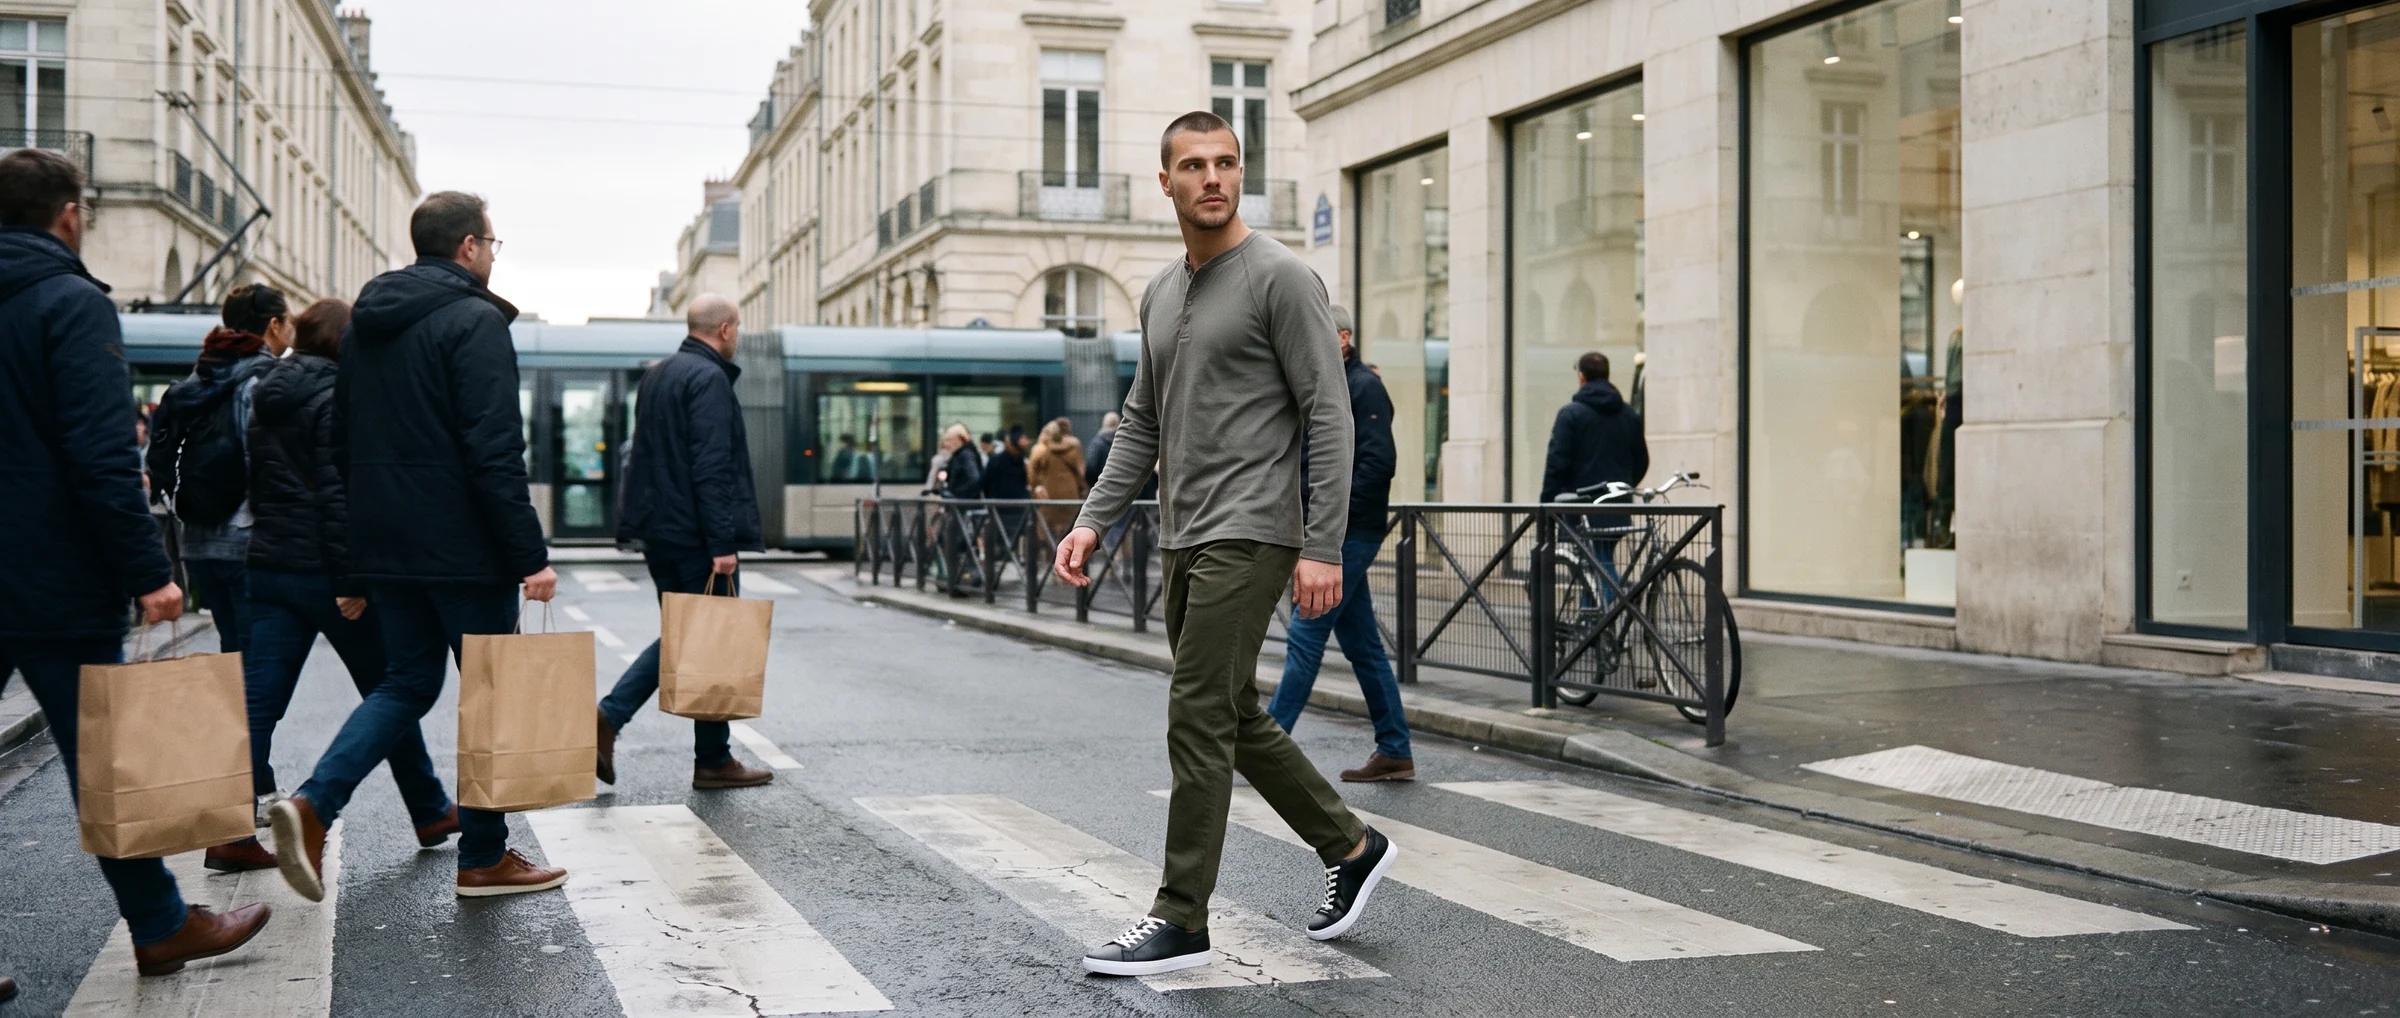
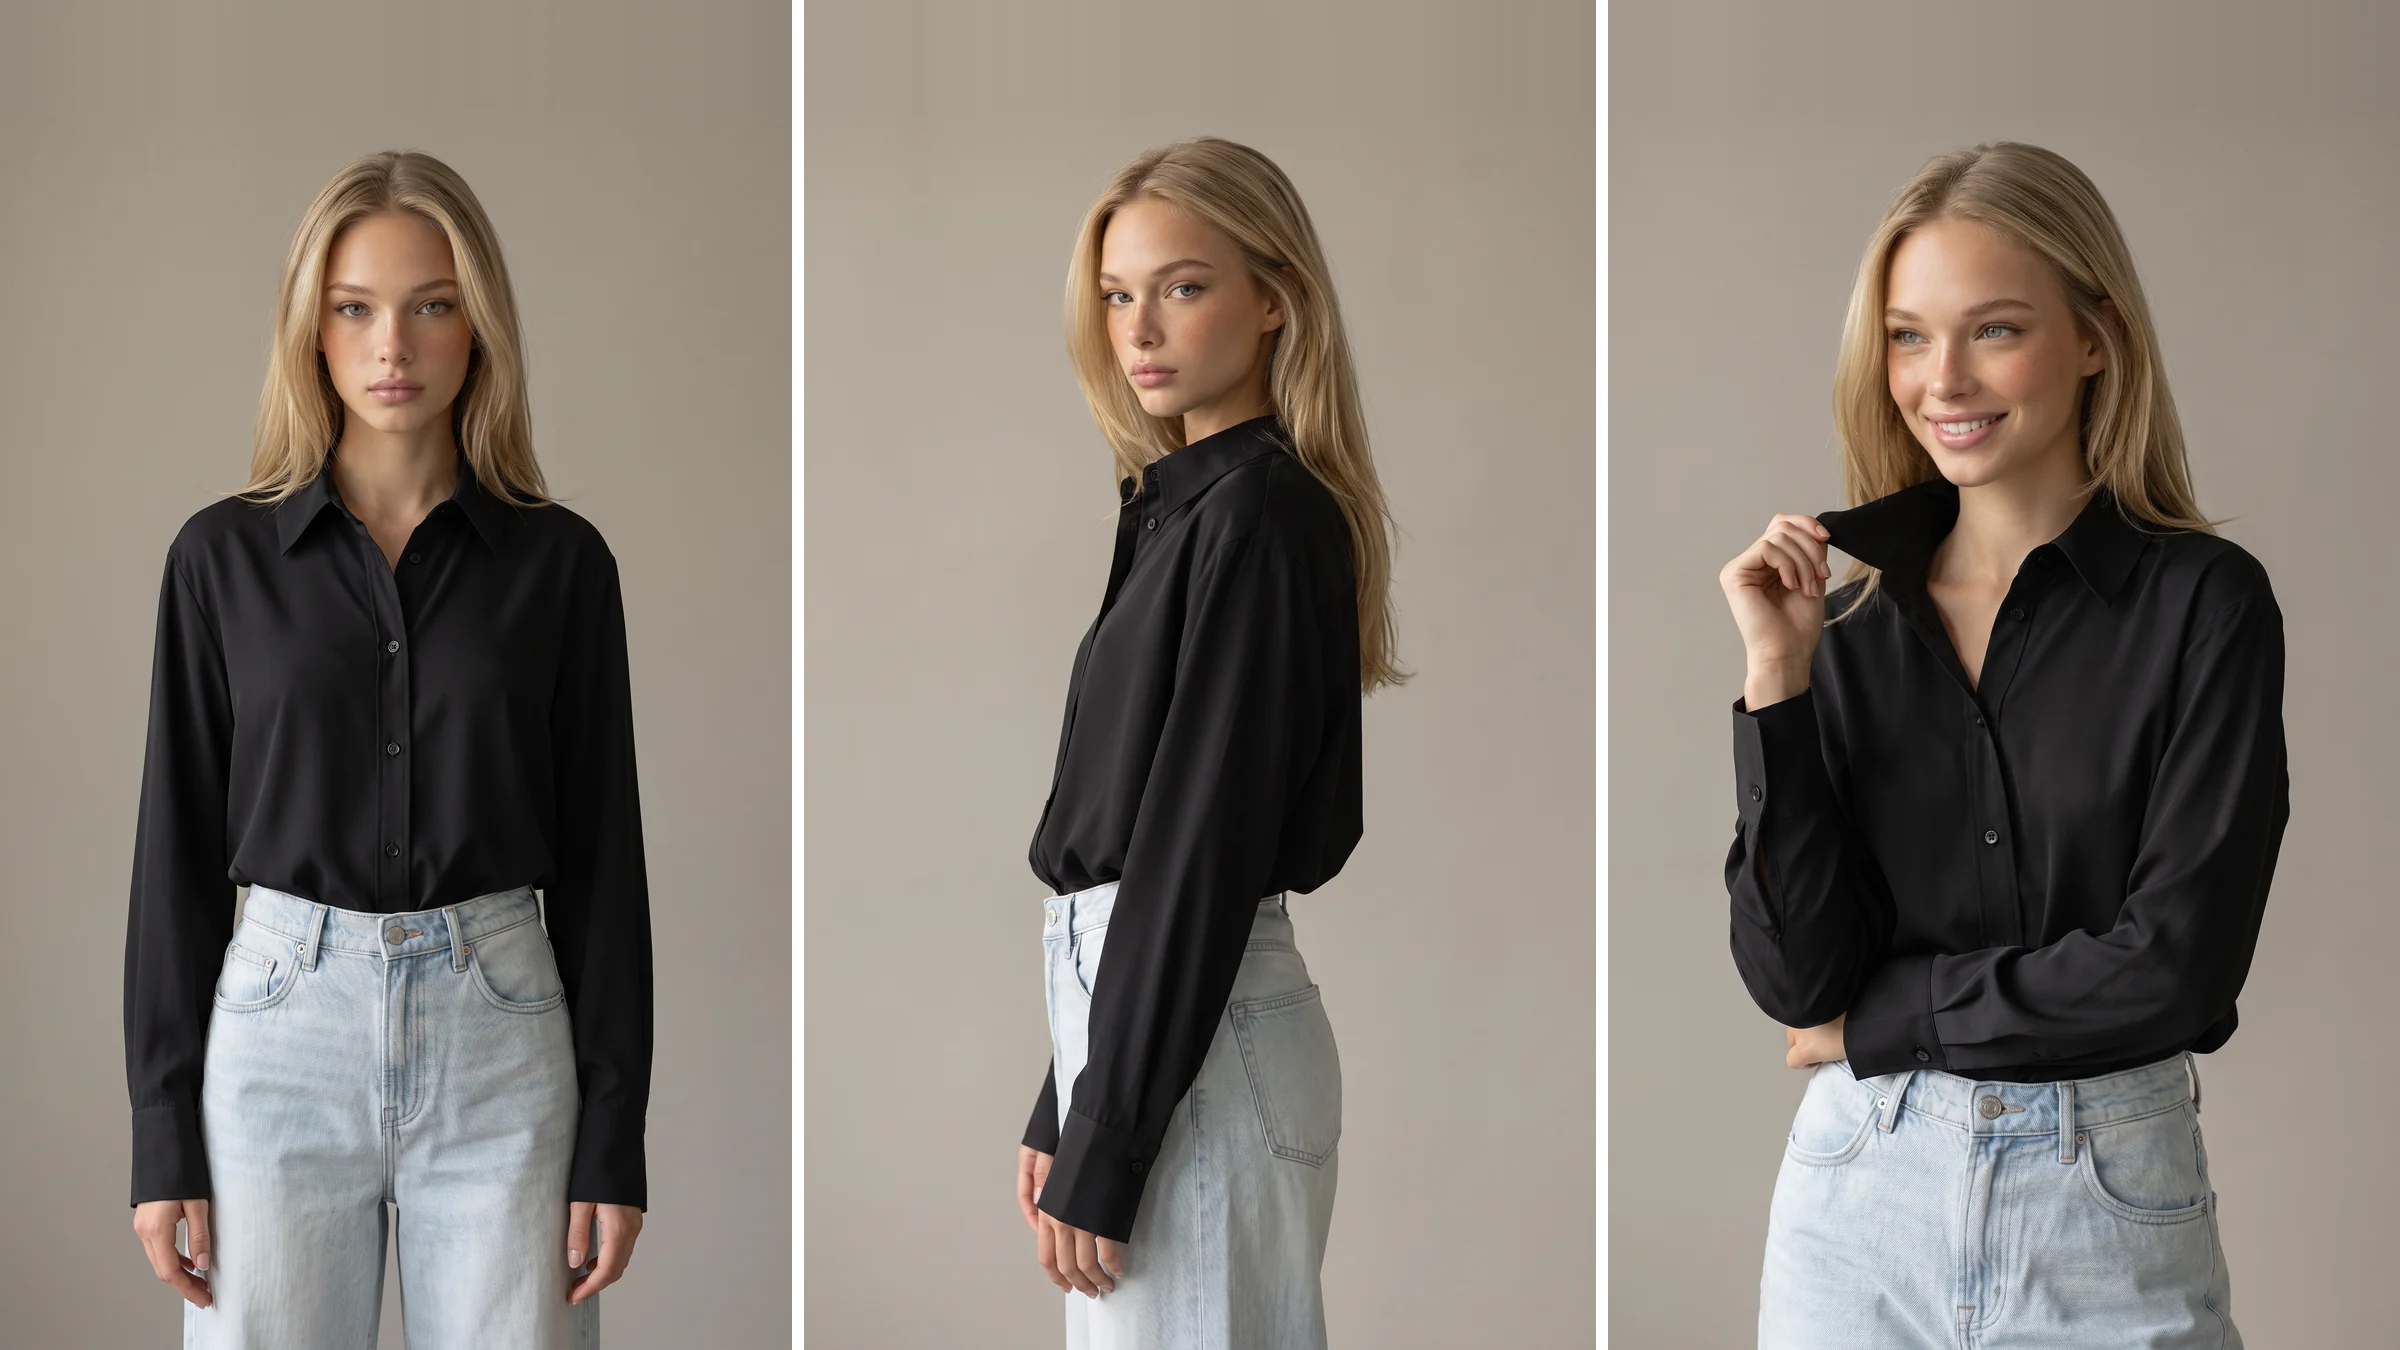
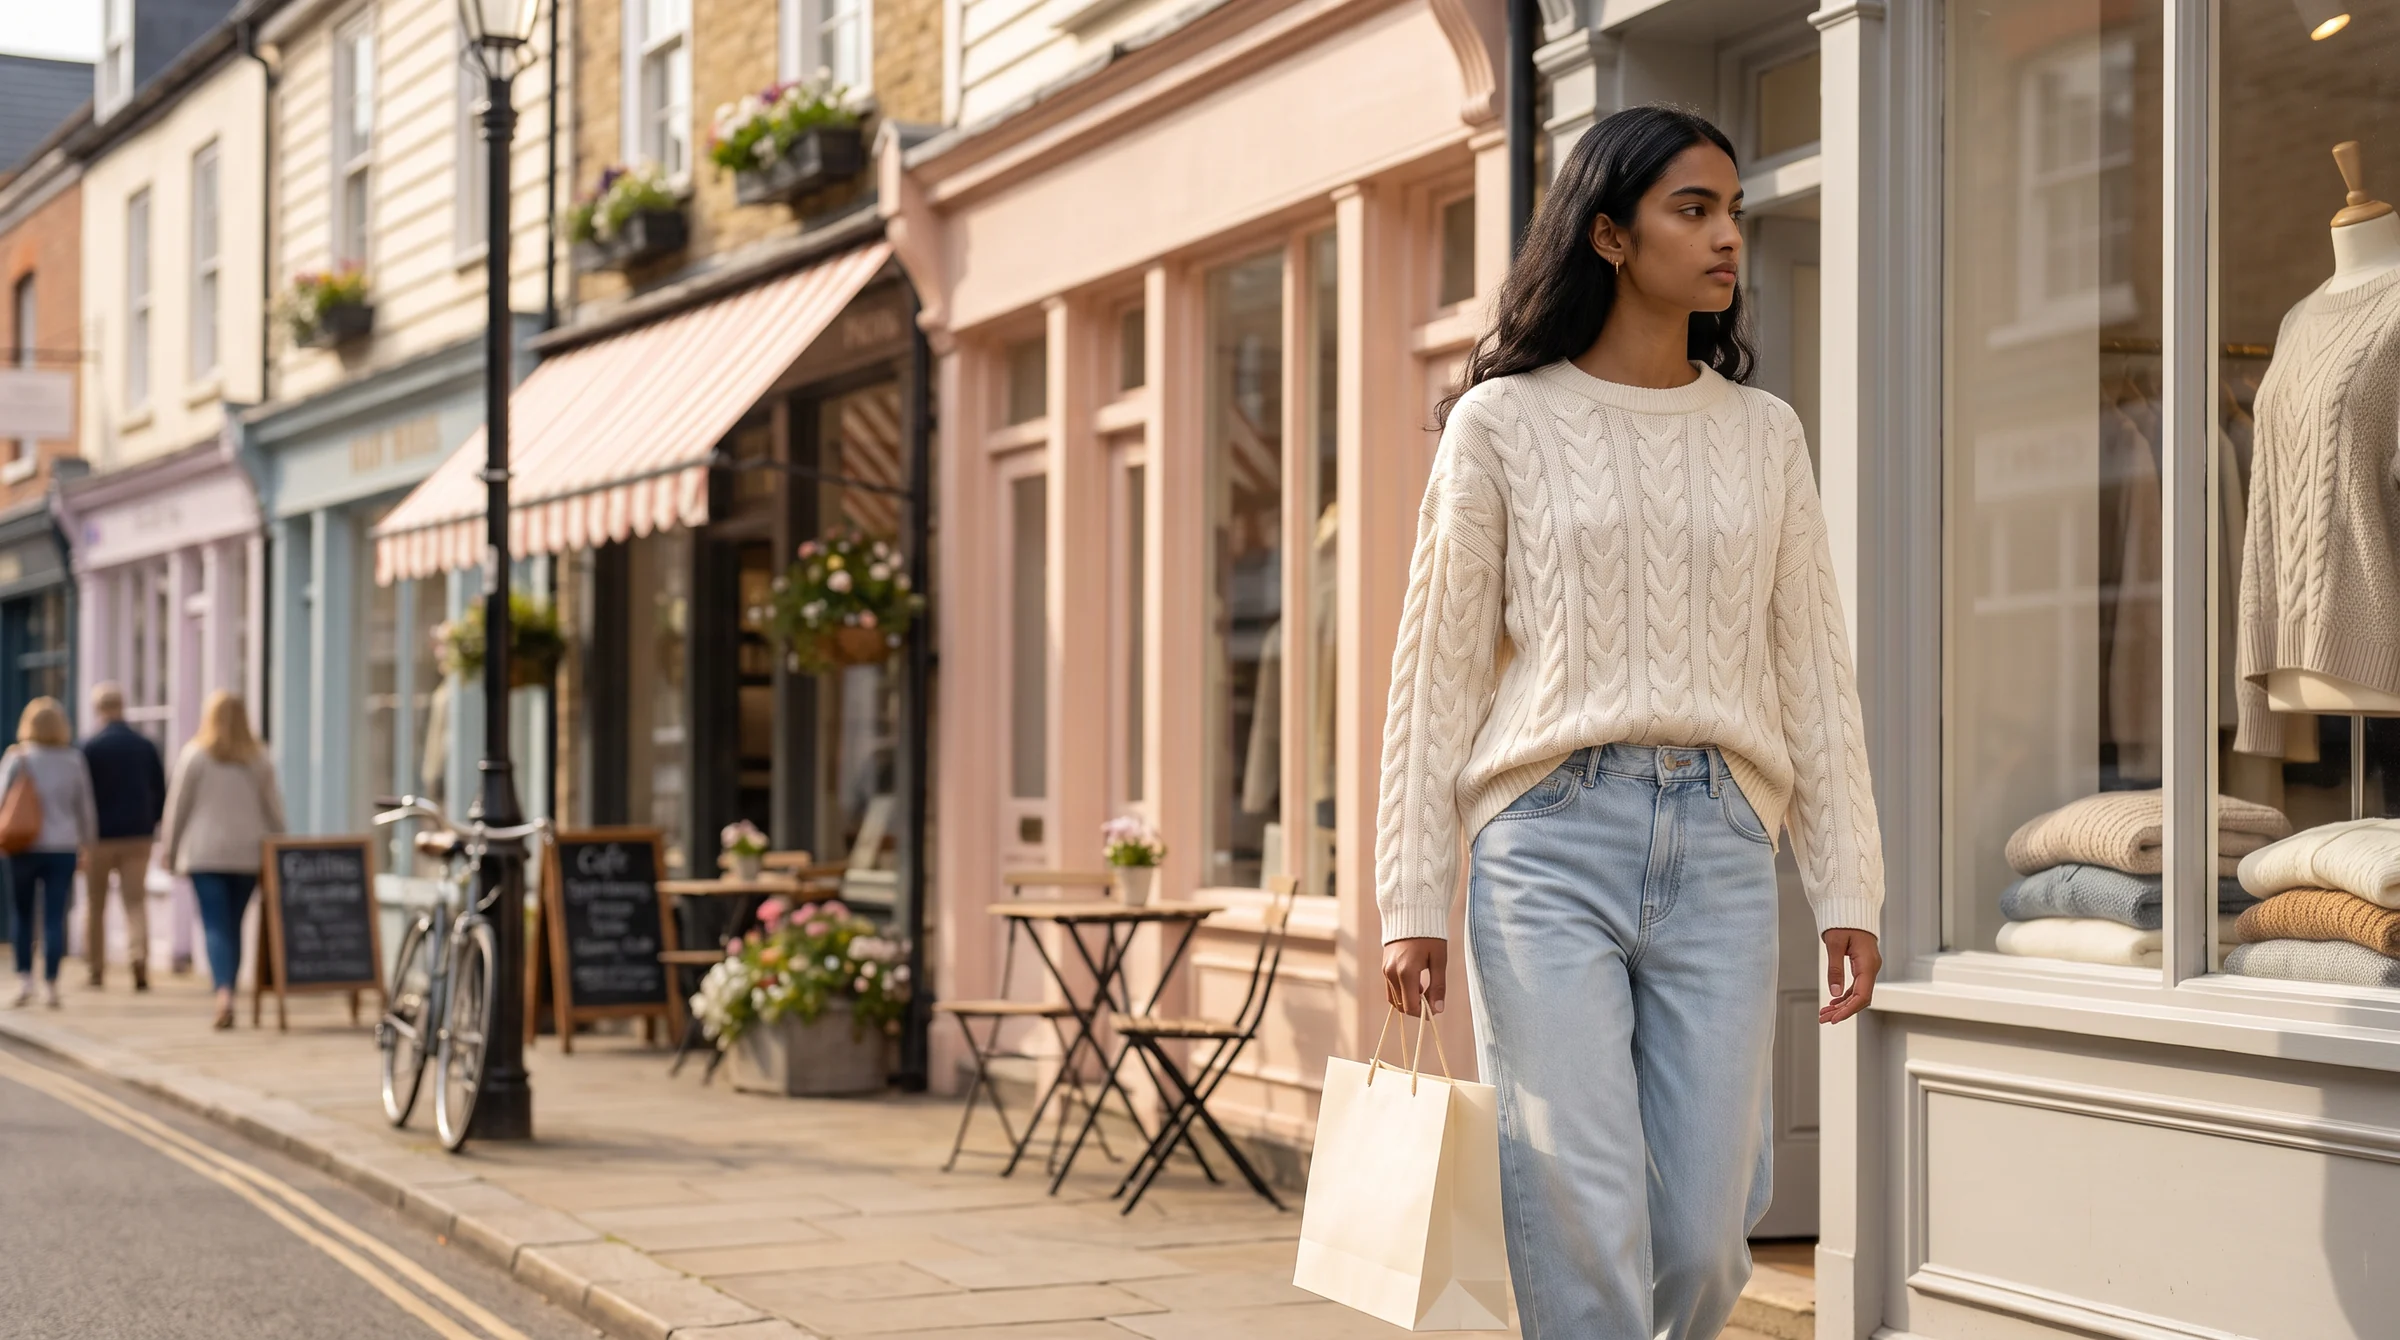
On-model, photographed. The strongest at communicating fit, drape and styling. Also the slowest and most expensive: casting, booking, samples in transit, and a reshoot whenever a colourway lands late.
On-model, generated from your existing images. Produces the on-model view from a flat lay, packshot or ghost mannequin shot you already own. It gives the fit-communicating format without the shoot cycle, and its accuracy depends entirely on whether the output is reviewed.
Most brands end up running two or three of these at once, and that is the right outcome rather than a compromise.
Lighting, and the thing lighting advice leaves out
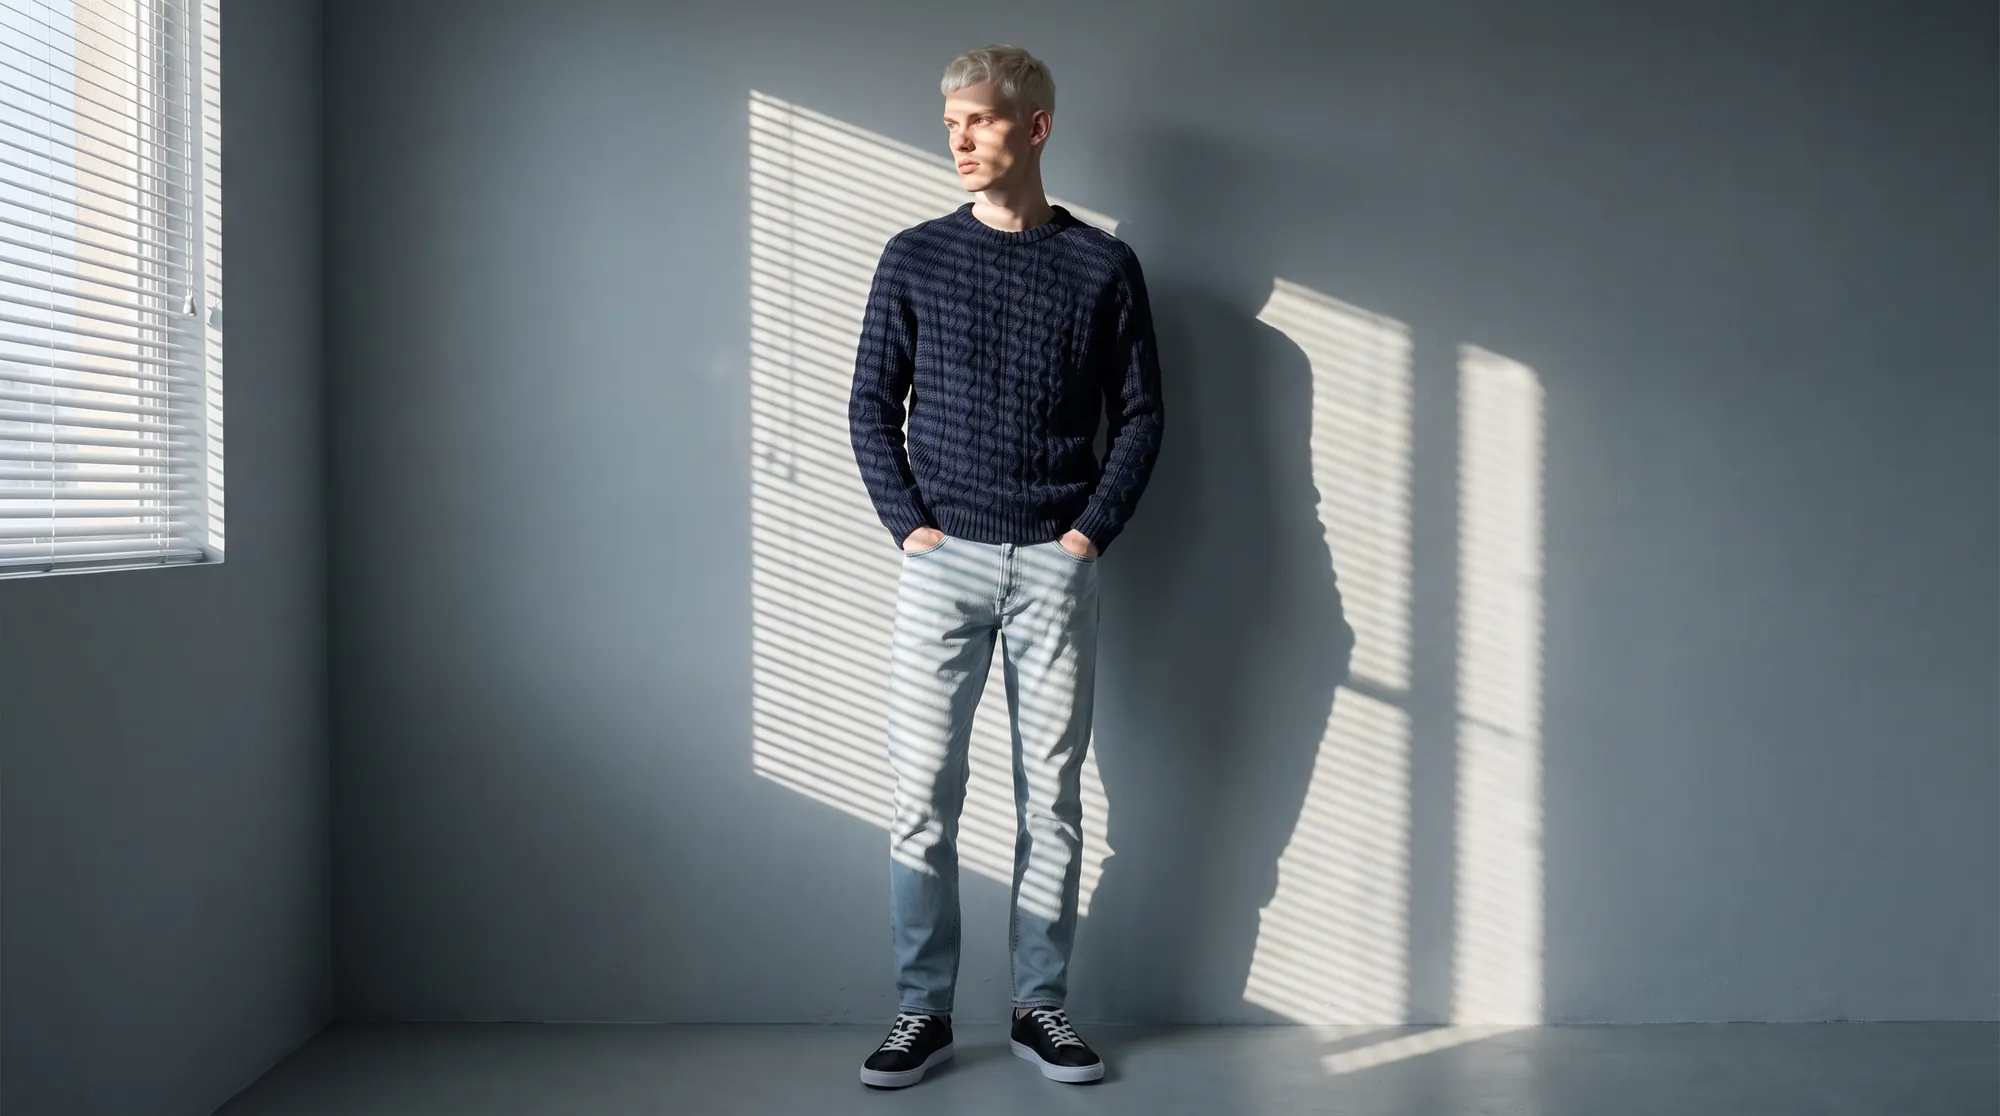
If you are shooting yourself, natural light is a reasonable default. Shopify's guidance on natural lighting for product photography notes it captures true-to-life textures and tones without the colour distortion artificial setups can introduce, recommends early morning or late afternoon over harsh midday sun, and suggests working within a few feet of a large north-facing window.
That is sound, and it is also where general product photography advice stops being enough for apparel. It does not address catalogue consistency, which is the fashion-specific problem.
Natural light changes through the day and across seasons. Shoot Monday morning and Thursday afternoon and you have two different colour temperatures on the same collection page.
So if you shoot in daylight, the discipline is to shoot in tight blocks under matched conditions, and to record the setup so the next block matches. Consistency beats beauty at catalogue scale.
What to fix before you change method
1. Write the specification down
Crop ratio, background, model treatment per product type, output dimensions, format and file naming. Agree it between merchandising and web before you produce anything.
2. Decide the images per product
Most fashion brands land on three to six: a primary on-model shot, one or two alternate angles, a detail crop, often a flat lay. Multiply by your SKU count to get real annual volume.
3. Get colour right at the source
Colour is the most common accuracy complaint and the hardest to fix later. Shoot or generate against a known neutral and check on a calibrated screen.
4. Write real alt text
Google's image SEO documentation notes that it reads alt text alongside computer vision and the content of the page to work out an image's subject. For apparel that means naming the garment and how it is worn, not "woman standing".
5. Cover the long tail
Hero styles always get treatment. Decide deliberately what the other 80% of the range gets, because that is where most product page visits land.
6. Keep a review gate
Whatever the method, check a sample of every batch against the specification at full size on a real product page. Not just the first batch.
Getting colour right, whichever method you pick
Colour is the accuracy complaint that generates the most returns and the one that is hardest to correct after the fact. It is also mostly a process problem rather than an equipment problem.
Shoot or generate against a known neutral. A plain grey or white reference in the frame, even if you crop it out later, gives you something to correct against instead of judging from memory.
Avoid mixed light sources. Daylight from a window plus a warm ceiling bulb produces two colour casts in one frame, and no amount of correction separates them cleanly afterwards.
Review on a screen you trust, calibrated if possible, and check the same image on a phone. Most of your customers will judge the garment on a phone, often outdoors.
Then do the only test that really counts: put the garment next to the screen in daylight and compare. If the greys have drifted or a navy reads black, fix it at the source rather than in post, because the fix has to hold across the whole range.
Choosing your method
Count your SKUs and multiply by images per product. If that annual number is in the hundreds, a shoot-based workflow will cover your heroes and ration the rest, and the rationing is the hidden cost.
Then audit what source material you already hold. If you have flat lays or packshots for most of the range, you can produce the on-model format without shooting anything, which is usually the fastest available upgrade.
Pilot one category, ideally your weakest, and publish it. Compare its performance against the rest of the site rather than against your expectations.
If you are starting from flat images, flat lay conversion is the shortest path; if you shoot on mannequins, ghost mannequin conversion is. Our production cost page covers how teams sequence the change.
Where this is heading
The method question is becoming less about equipment and more about throughput. Once you know what standard every image must meet, choosing how to produce them gets much simpler.
The brands doing this best are not the ones with the most expensive setup. They are the ones whose four hundredth image looks like their fourth. Start with one category on on-model photography and compare it against what you publish today.
Common questions about photographing clothing
What is the best way to photograph clothing?
For selling online, on-model imagery communicates fit and drape best, which is what apparel shoppers are trying to judge. Flat lay and ghost mannequin are faster and cheaper but leave fit to inference. Most brands combine methods by product type.
Should I photograph clothing flat or on a model?
On a model for the primary product page image, because it answers the fit question. Flat lay works well as a secondary image for showing print, colour and construction clearly.
What lighting is best for clothing photography?
Soft, even, directional light. Natural light from a large north-facing window is a good default and renders colour accurately, but it shifts through the day, so shoot in matched blocks if catalogue consistency matters.
How many photos does each garment need?
Three to six for most fashion brands: a primary on-model shot, one or two alternate angles, a detail crop, and often a flat lay. More matters less than having the same set for every product.
Can I photograph clothing without a model?
Yes. Flat lay and ghost mannequin need no model at all, and on-model imagery can be generated from those shots, so you get the format without casting or booking anyone.
How do I keep photos consistent across hundreds of products?
Write a specification covering lighting, crop, background, model treatment and output format, produce everything through one pipeline, and review each batch against that document. Consistency is a process control, not a repeated creative decision.