How to photograph clothing on a mannequin (and when AI is faster)
Photographing clothing on a mannequin is the most reliable low-budget way to show a garment with shape. It costs nothing per shot once you own the form, it repeats cleanly across a range, and it gives a shopper far more than a garment laid flat on a table.
Done badly, though, it produces exactly the images that make a store look cheap: a visible plastic shoulder, a shadow pooling under the hem, and a fit that sags in all the places the real garment does not.
This guide covers the setup, the technique that actually matters, the two most common mistakes, and the point at which shooting on a mannequin stops being the efficient choice.
What you need
Less than most guides suggest.
A mannequin that matches your fit is the one thing worth spending on. If your sample size is a small, a form built for a medium will read loose in every shot, and no amount of pinning fully hides it.
A large, soft light source, which can be a window, and a white or light grey backdrop that falls behind the form rather than sitting flush against it.
A tripod, because consistency across a range depends on the camera not moving between products.
Clips, pins, and tissue paper for filling out shoulders and sleeves. This is the unglamorous part that separates a clean shot from a saggy one.
The setup that gets consistent results
Put the light to one side and slightly above, then bounce or diffuse it back into the shadow side. Flat frontal light kills the texture that makes fabric look like fabric.
Pull the mannequin well away from the backdrop. Distance is what stops a hard shadow appearing behind the garment, and it is the single most common reason home-shot product images look amateur.
Shoot at the garment's mid-height, not down at it. A camera above the piece foreshortens the length and makes everything read shorter than it is.
Lock your camera settings and your tripod position for the whole session. Auto exposure will drift between a white shirt and a black dress, and then your category page has forty slightly different backgrounds.
Steam everything. On camera, a crease reads as a defect.
One more thing worth doing before you shoot anything: decide whether the mannequin will be visible in the final image. That single decision changes how you dress the form, how you light the neckline, and how much editing follows. Teams that leave it open end up with a set of images that suit neither treatment and have to be redone.
The two mistakes that cost the most
The first is fit. A garment that hangs loose on the form tells the shopper the piece is shapeless. Pin at the back, fill the shoulders and sleeves, and make the front read as though someone is wearing it.
The second is inconsistency across the range. Different light, different distance, or a drifting exposure between products, and the collection page stops looking like one brand. This matters more than any single image being perfect.
A third, smaller one: leaving the mannequin visible at the neck and cuffs when the intent was a clean garment shot. Either commit to showing the form or plan for the ghost mannequin edit, but do not land halfway.
Where mannequin photography stops being the efficient choice
| Method | What it shows | What it cannot show | Cost per product | Best used as |
|---|---|---|---|---|
| Flat lay | Colour, print, basic shape | Fit, drape, length on a body | Lowest | Secondary image |
| On a mannequin | Silhouette and structure | How it moves on a person | Low, after the form is bought | Secondary image |
| Ghost mannequin | Clean silhouette, no form visible | Fit and proportion on a body | Low plus editing time | Secondary image |
| On-model photography | Fit, drape, length, proportion | Nothing material for a shopper | Highest traditionally, low with AI | Primary product image |
Mannequin shots answer one question well: what is the shape of this piece? They cannot answer how it sits on a body, how a sleeve falls when an arm moves, or how the length reads on a person.
Those are the questions that decide purchases. Apparel carries the highest return rates in ecommerce because fit and sizing are hard to judge from a product page, and size, fit, or color is the leading reason an order comes back. A hollow garment leaves that judgment entirely to the shopper.
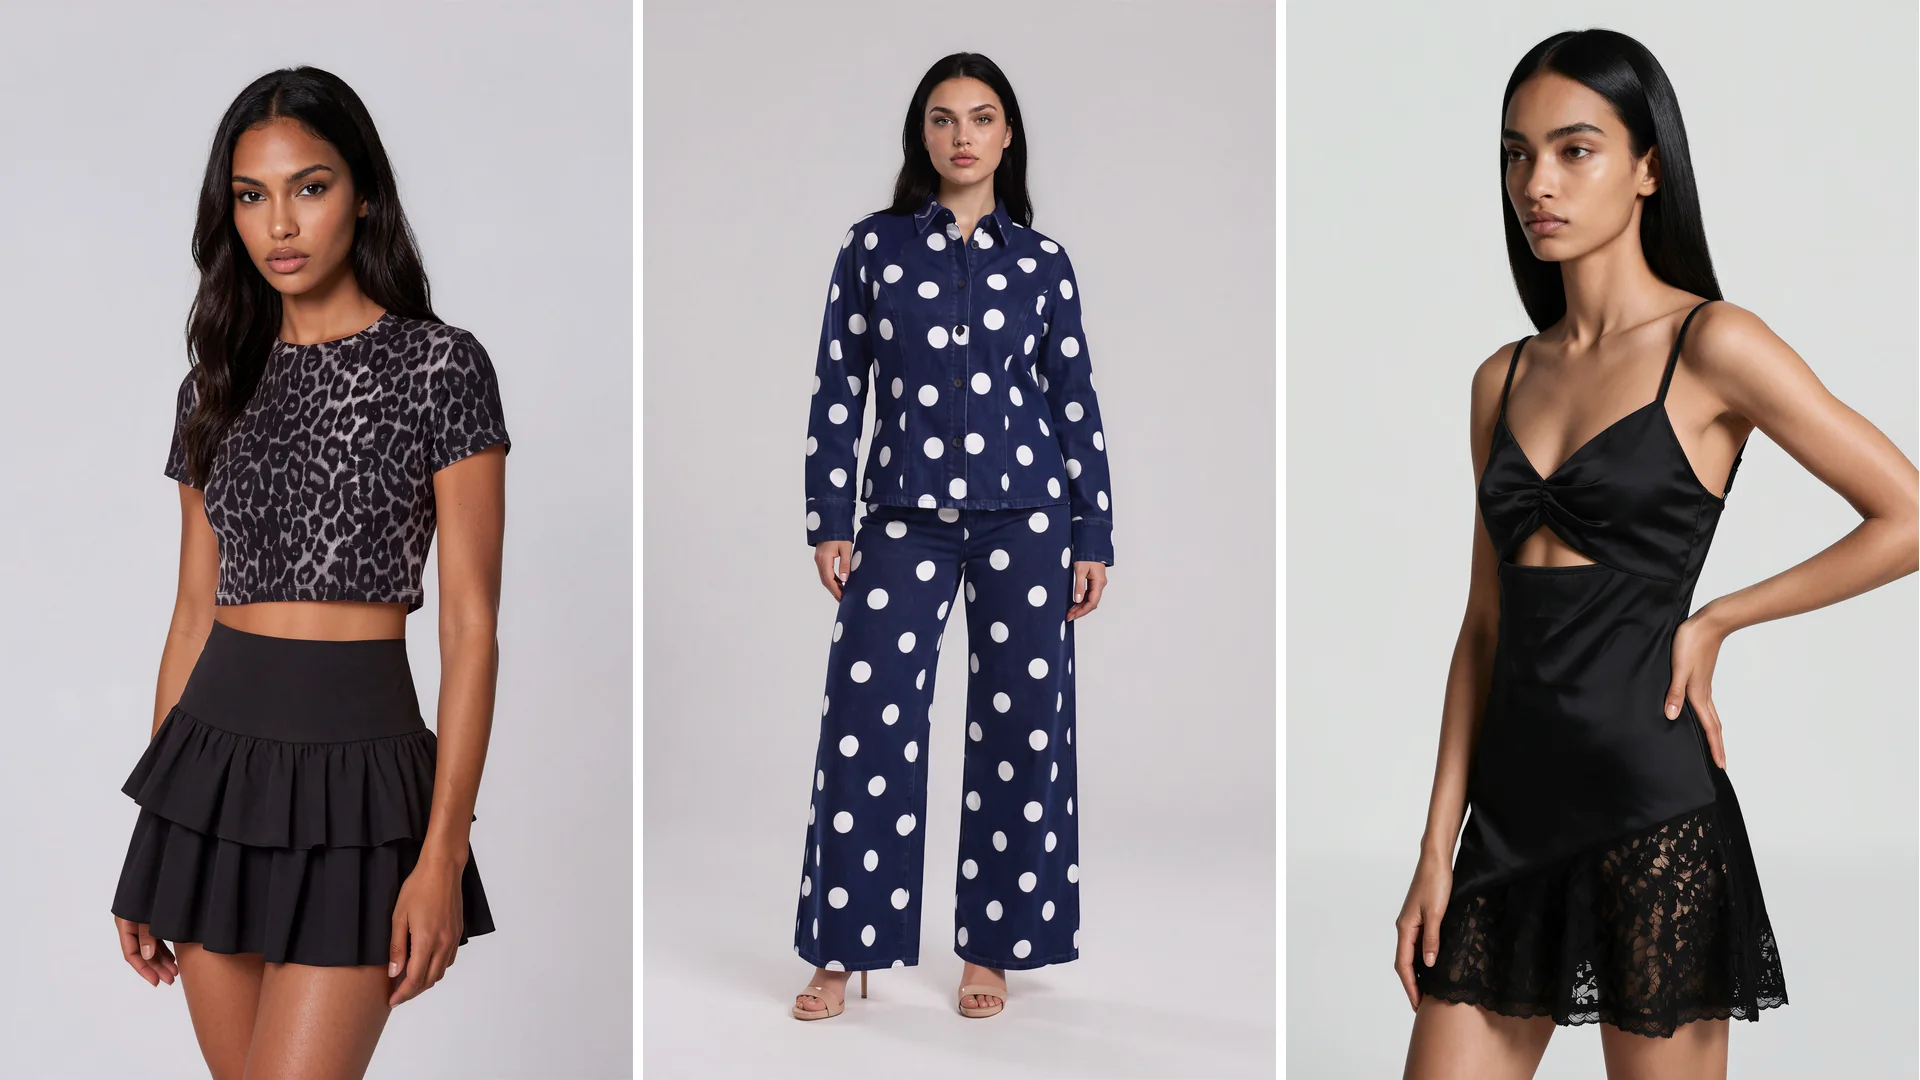
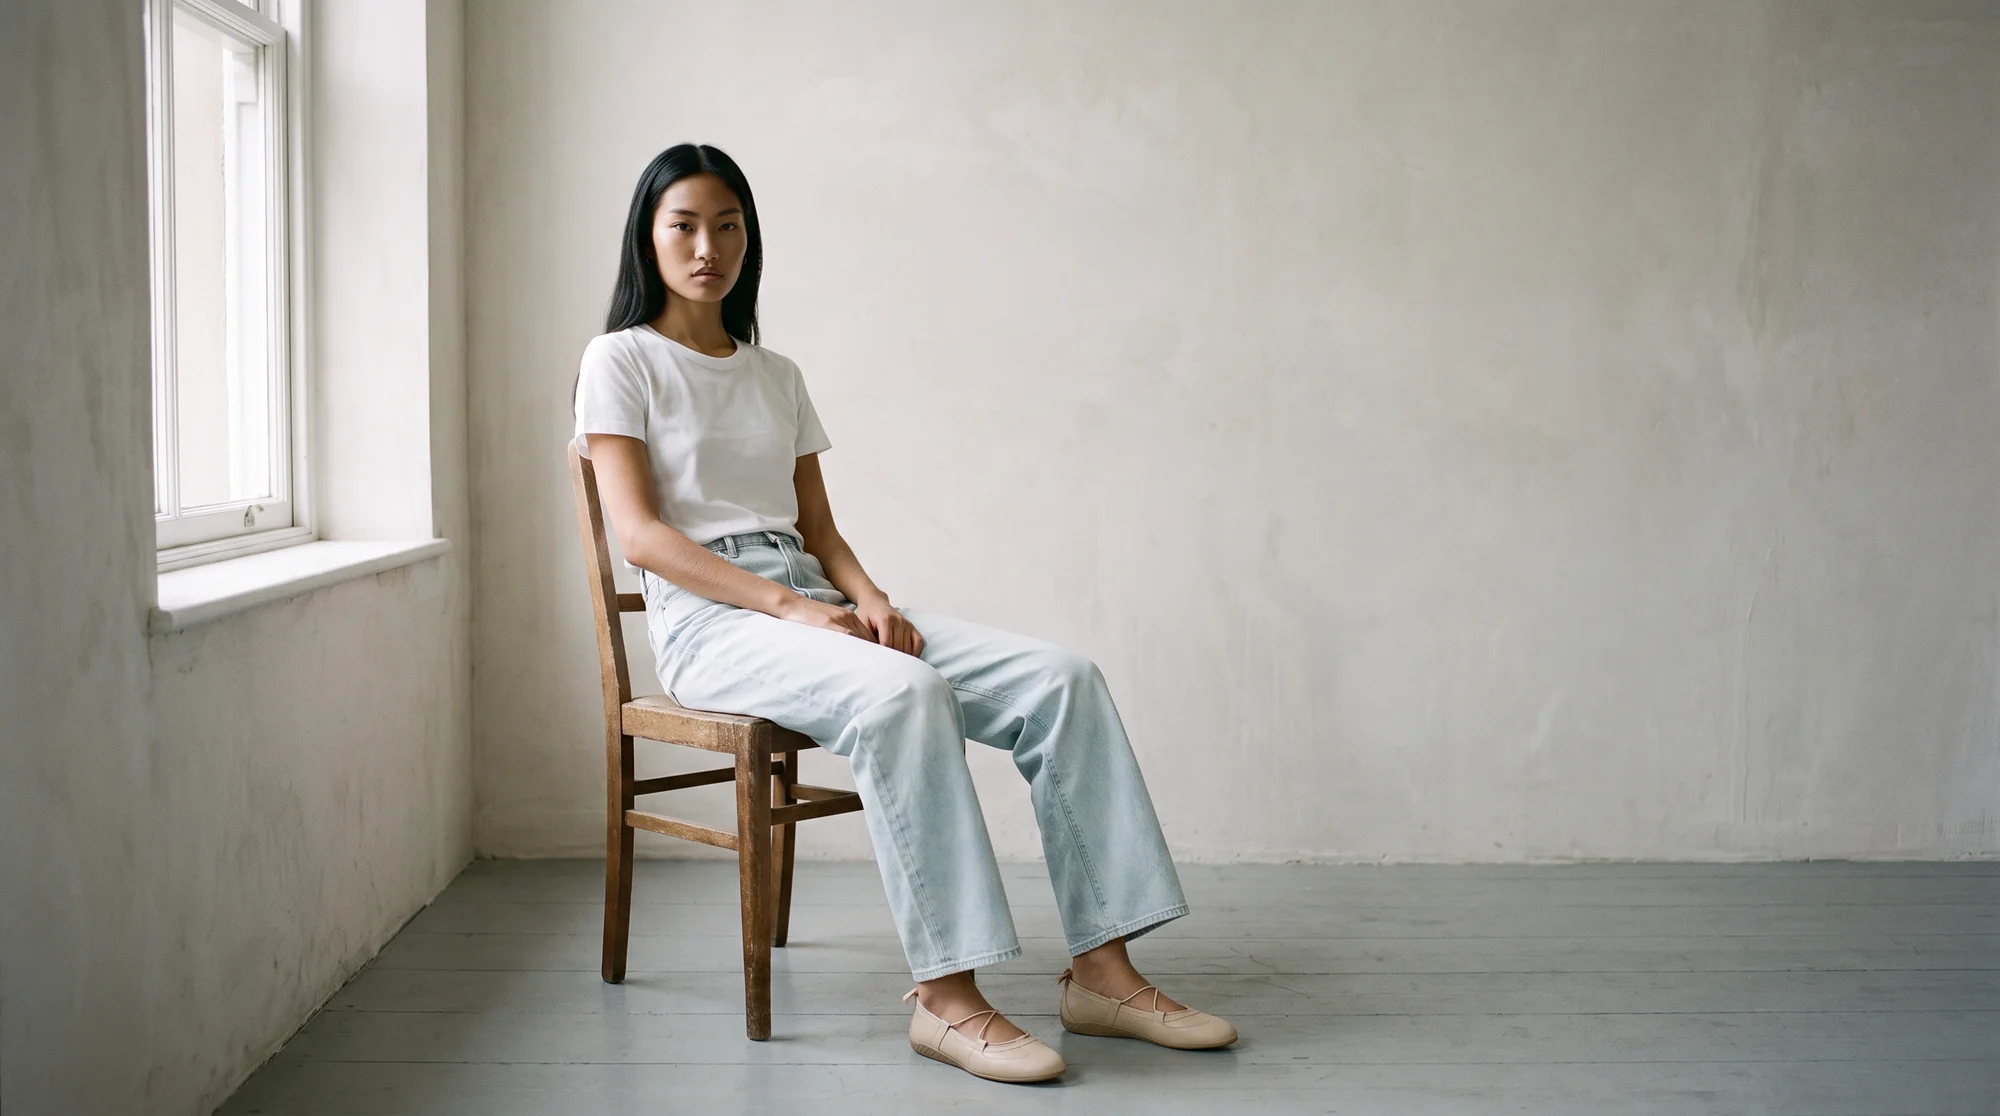
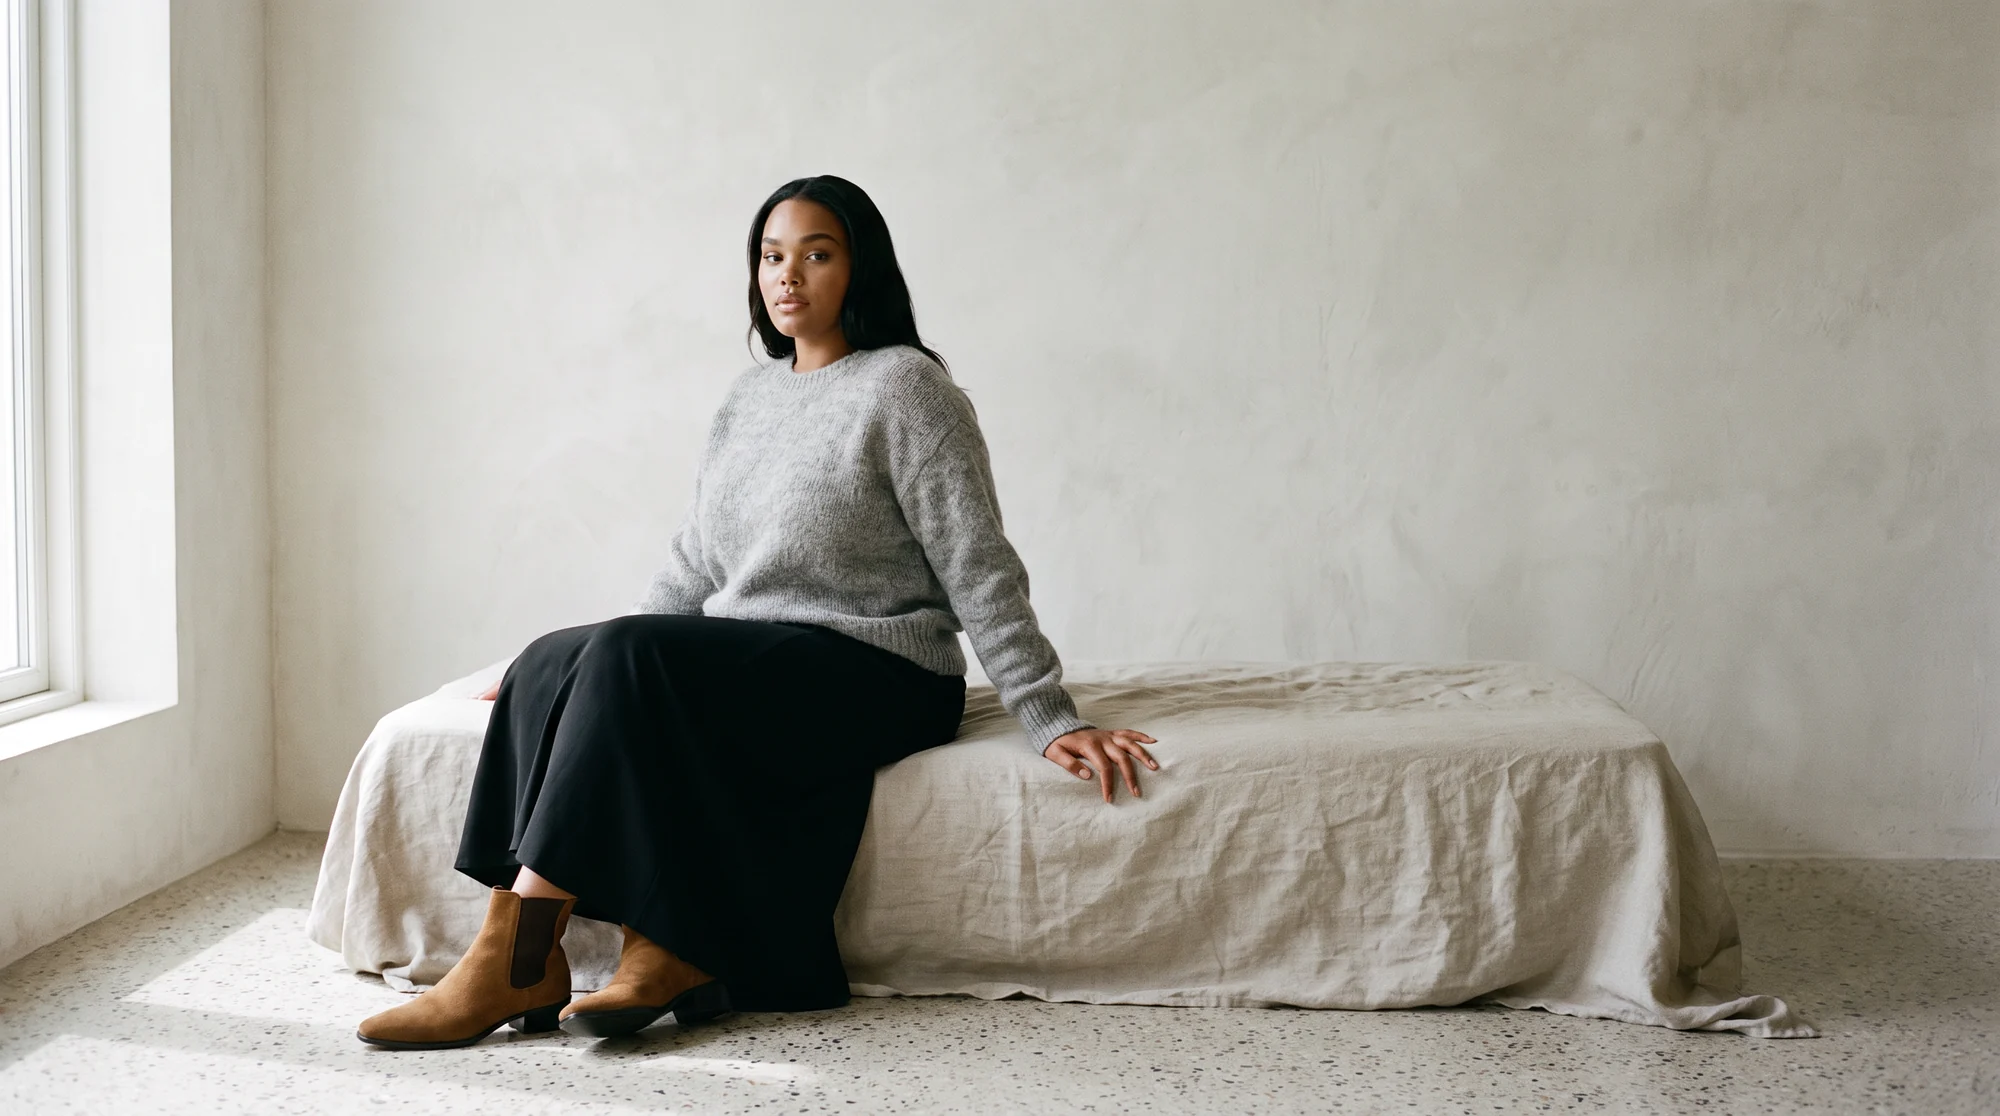
The old answer was to book a model shoot for the pieces that justified it and leave the rest on the form. The current answer is that a mannequin shot can become an on-model image without a shoot at all. You upload the photo you already took and get that same garment worn by a model.
That reframes the mannequin from a final output into a production step, which is a much better use of the setup you have just built.
The practical workflow
Shoot on the form, because it is fast and repeatable and you control it.
Use those images as the input for on-model imagery, so the range gets a body without a booking. The ghost mannequin workflow handles the form removal in the same pass.
Lead the product page with the on-model shot, since that is what loads first and reaches every visitor, and keep the clean mannequin or flat lay image behind it as a secondary view for shoppers comparing cut.
Start with your highest-traffic products, watch conversion and returns for a few weeks, then widen it.
Building a repeatable station
If you are shooting more than a handful of products, the goal is a station you do not rebuild each time.
Mark the floor. Tape the mannequin position, the tripod legs, and the light stand. Being able to return to the exact geometry next week is what makes a range shot over several sessions look like one session.
Write your settings down and shoot a reference frame at the start of every session. Comparing today's reference against last week's catches drift before it contaminates fifty products.
Batch by garment type rather than by arrival order. Shirts photograph with one set of pinning tricks, knitwear with another, and switching between them constantly is where consistency quietly slips.
Keep the raw files. If you later decide to generate on-model imagery from these shots, or reprocess a category to a new standard, the original captures are what make that possible without reshooting.
Finally, photograph more angles than you think you need. A front, a back, and one detail frame per garment costs seconds extra on a station that is already built, and it gives both your product page and any later on-model generation far more to work with.
Common questions about photographing clothing on a mannequin
What lighting is best for mannequin photography?
One large soft source to the side and slightly above, with fill bounced into the shadow side. A window works. Flat frontal light removes the texture that makes fabric read as fabric.
How do I avoid shadows behind the garment?
Move the mannequin further from the backdrop. Distance, not more light, is what removes the hard shadow.
How do I stop clothes looking saggy on the form?
Pin at the back and pad the shoulders and sleeves with tissue. The front should read as though a person is inside it.
What size mannequin should I use?
One that matches your sample size. A form larger than your sample will read loose in every image and pinning only partly compensates.
Should I remove the mannequin from the photo?
If you want a clean garment shot, yes, that is the ghost mannequin edit. What works better on a product page is going one step further and putting the garment on a model.
Can I turn my mannequin photos into on-model images?
Yes. A fashion-trained AI platform takes the mannequin shot you already have and renders that same garment worn by a model, with no reshoot and no sample sent anywhere.
Where this is heading
Mannequin photography is not going away, it is changing role. It is becoming the cheapest, most controllable way to capture a garment accurately, with the on-model version generated from it rather than shot separately.
Discovery is shifting too. More product research now begins inside AI-powered search and overviews, which favour listings with complete, consistent imagery.
If you already shoot on a form, you are most of the way there. See how Botika turns mannequin and flat product shots into on-model imagery, or start a free trial and run one of your existing shots through it.