Flat Lay to On-Model: Turning Flat Product Photos into AI Model Shots
Most fashion brands have a folder full of flat lays. They are cheap to shoot, fast to produce, and consistent across a catalog, which is exactly why they became the default for so many product pages.
They also ask the shopper to do the hardest part of the job. A garment laid flat on a surface has no body in it, no drape, no sense of length or fit. The shopper has to imagine all of that, and plenty of them decide not to bother.
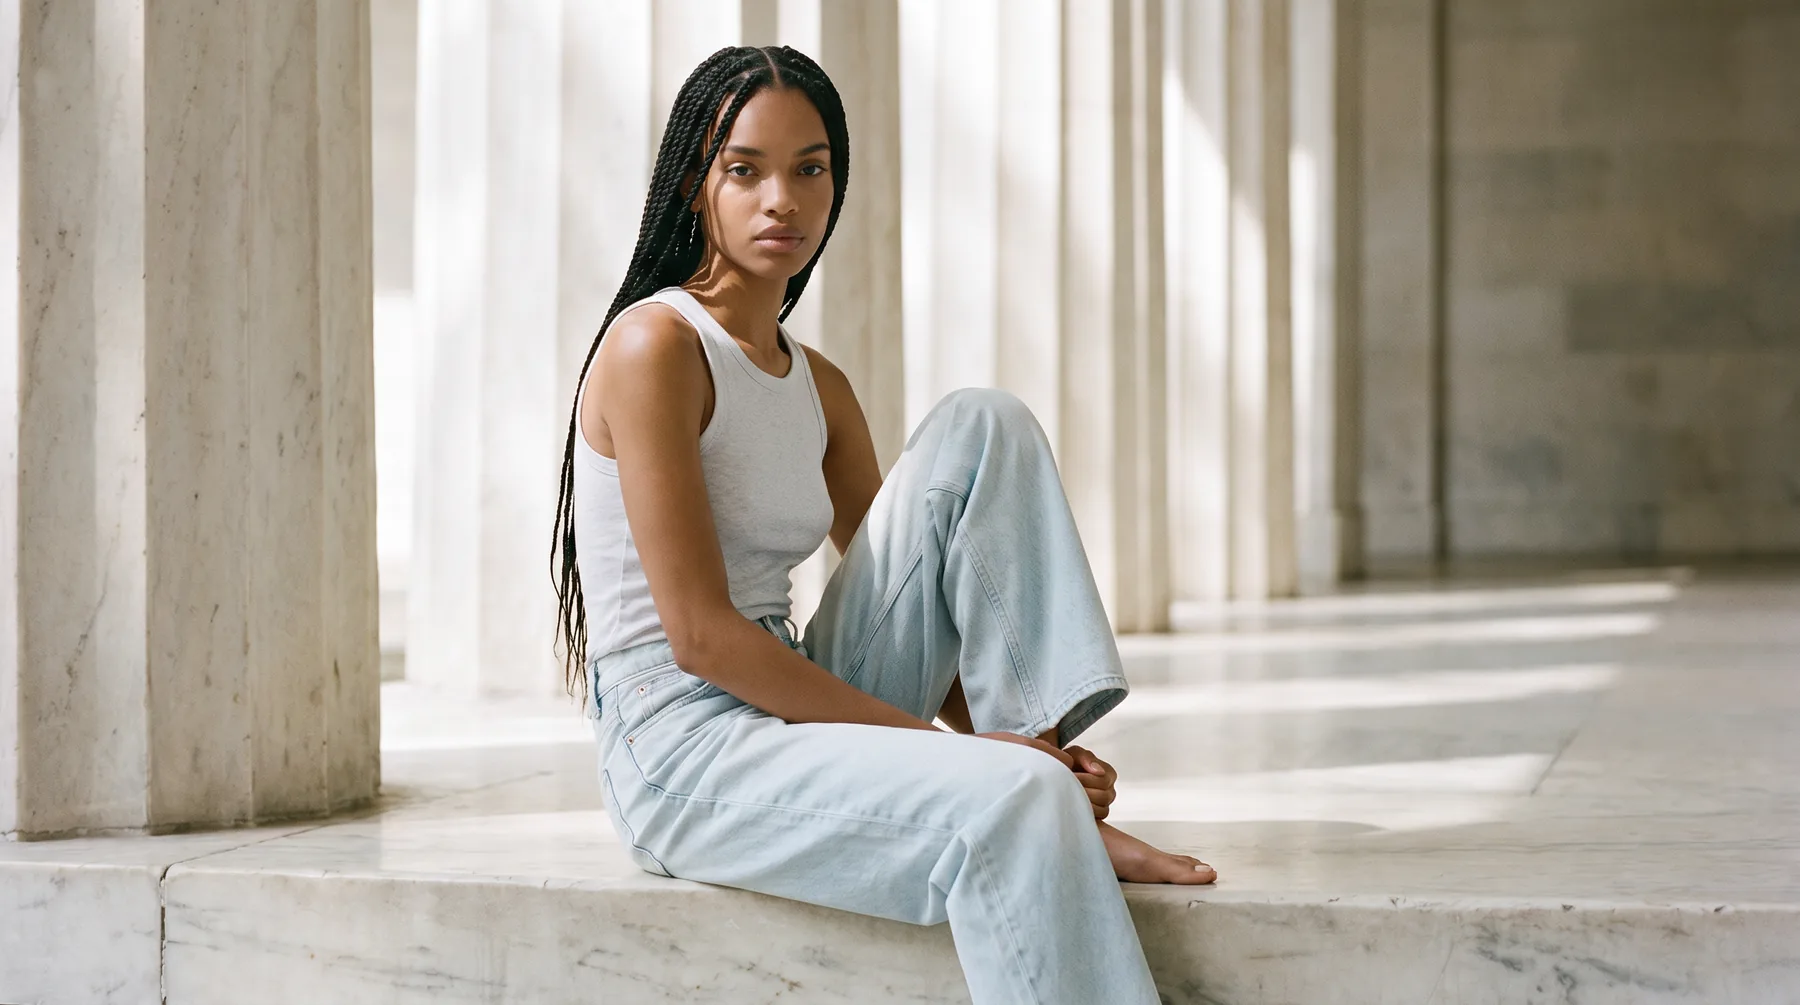
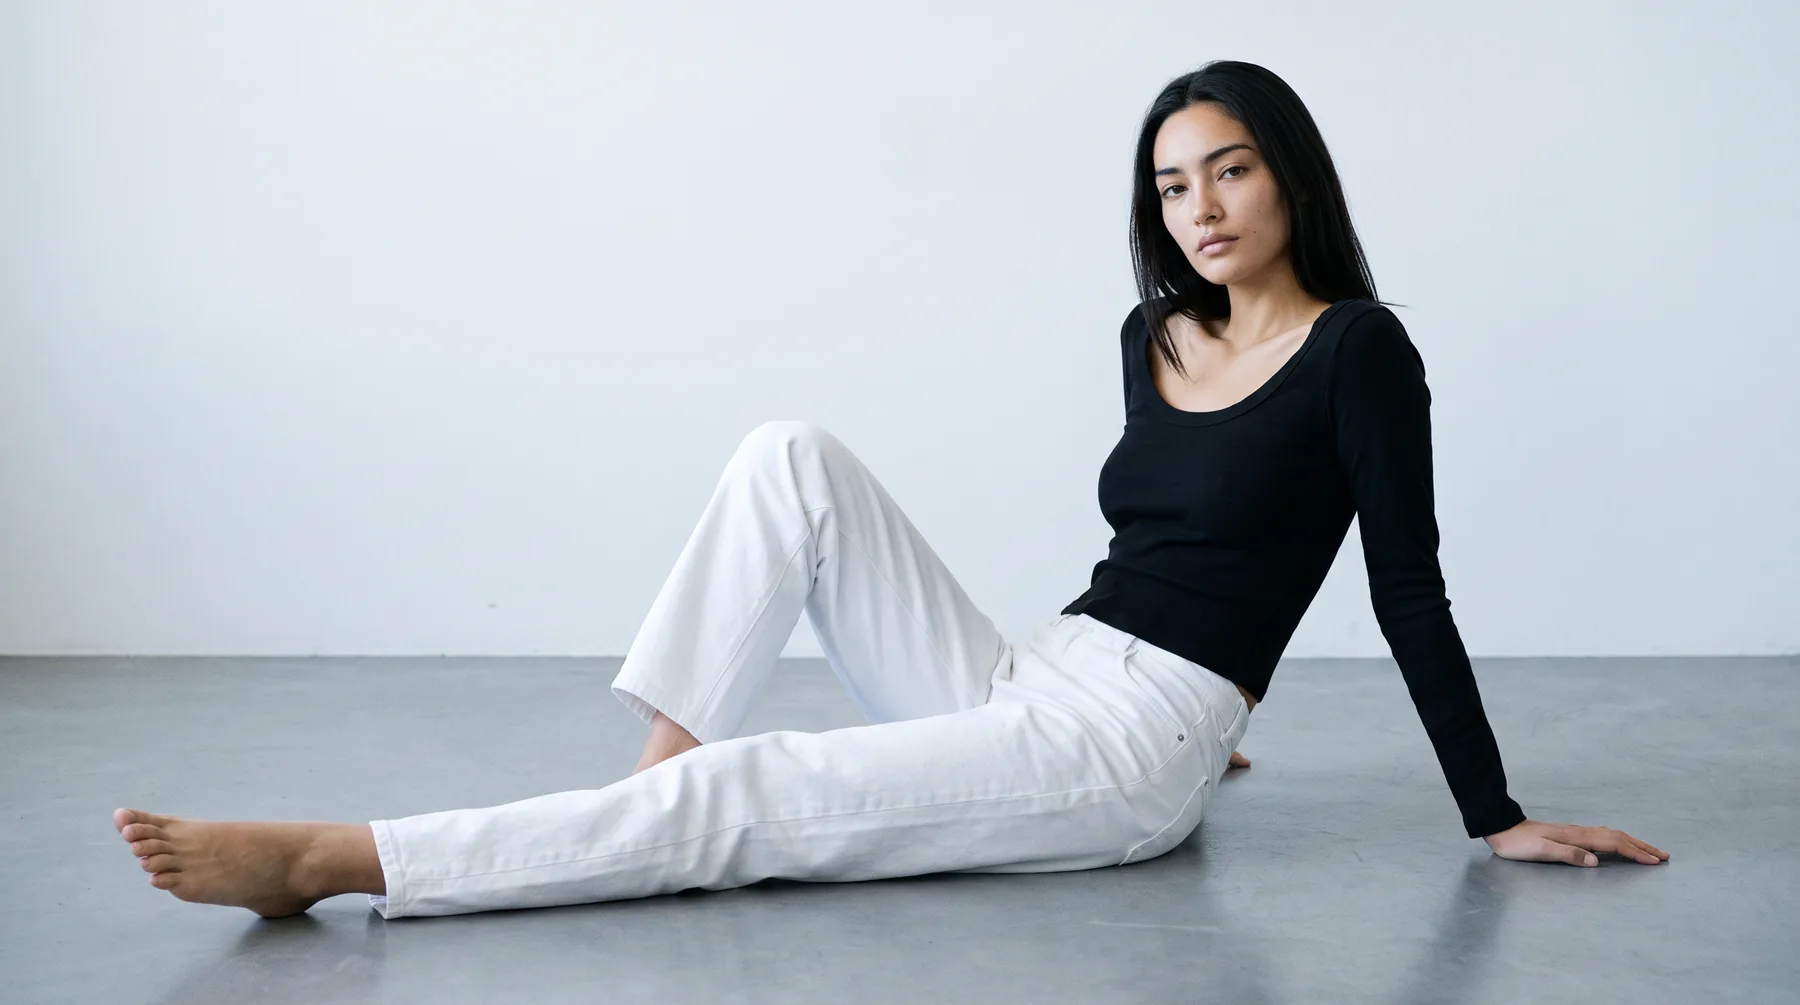
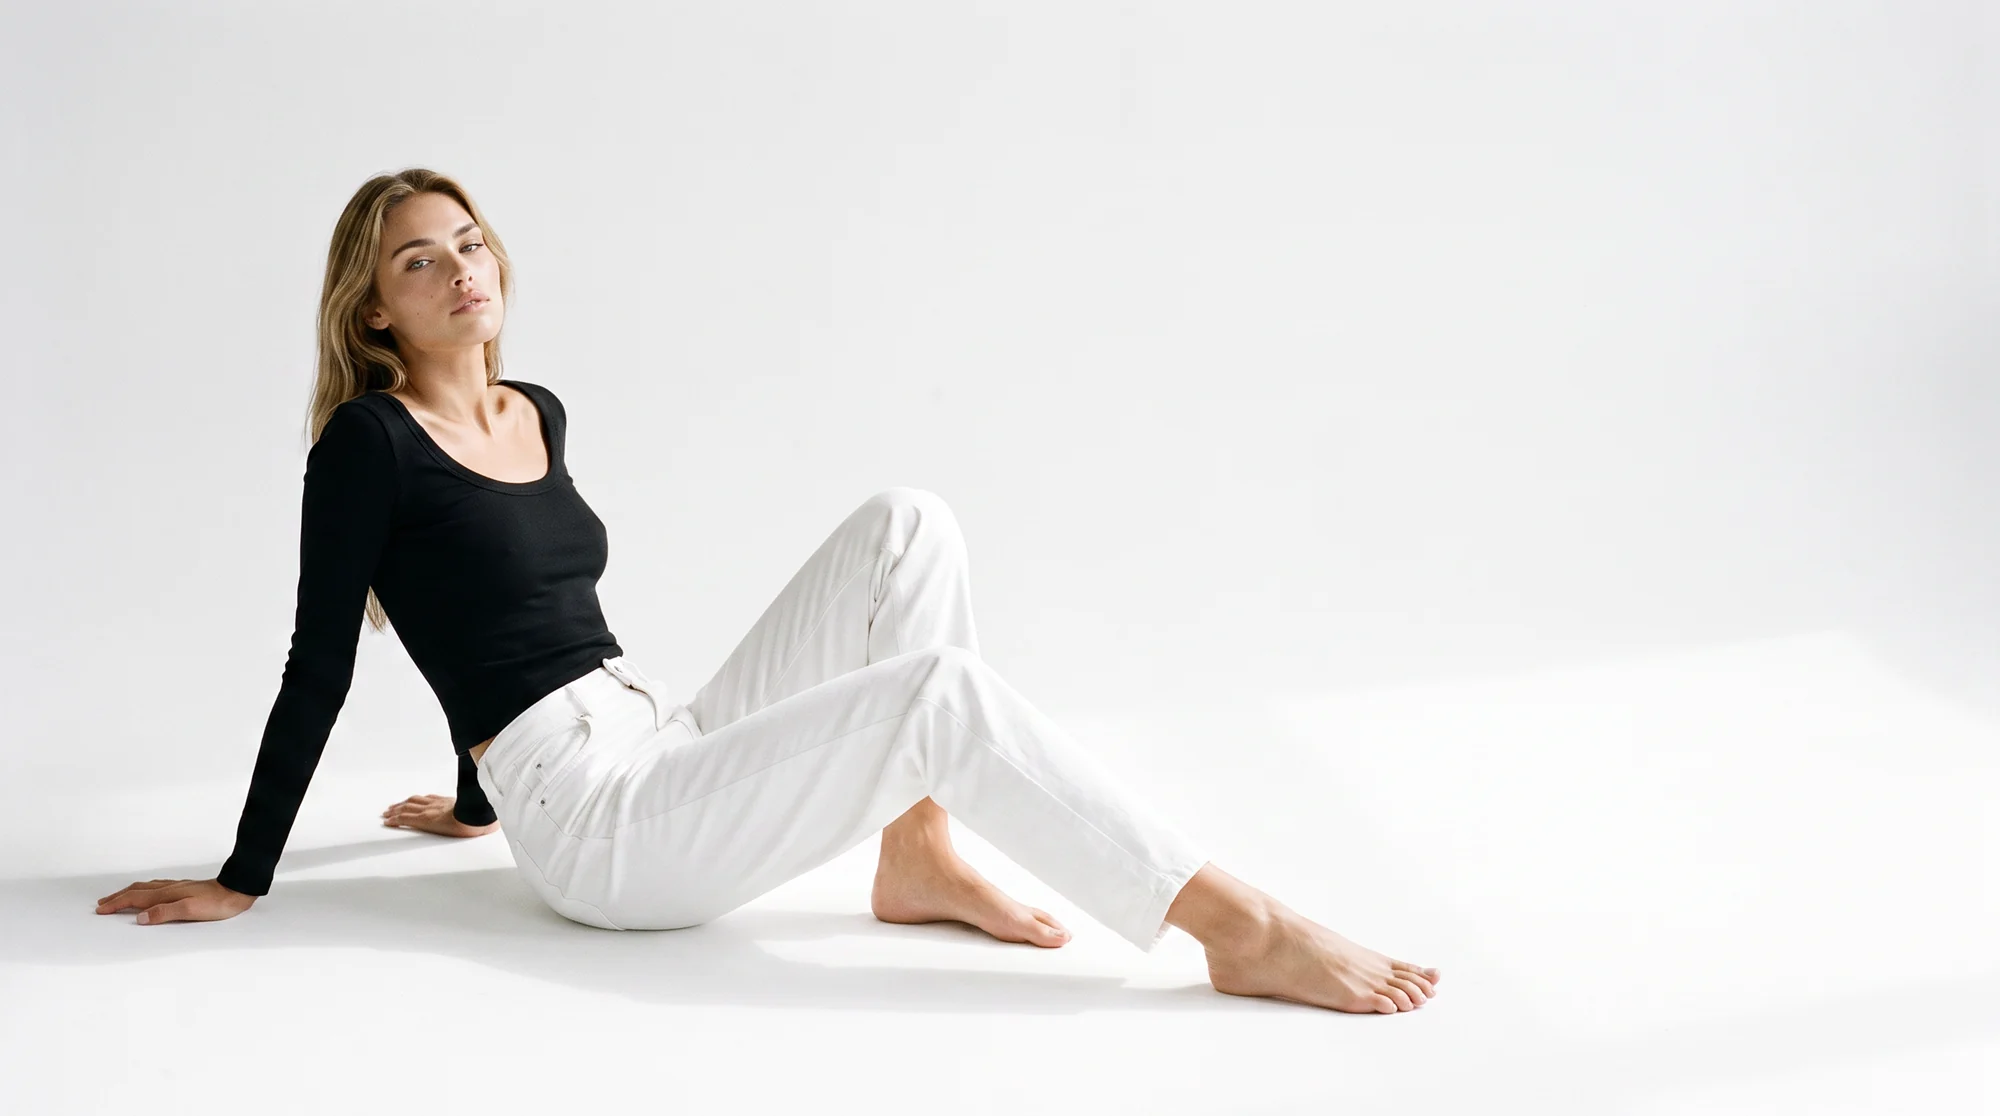
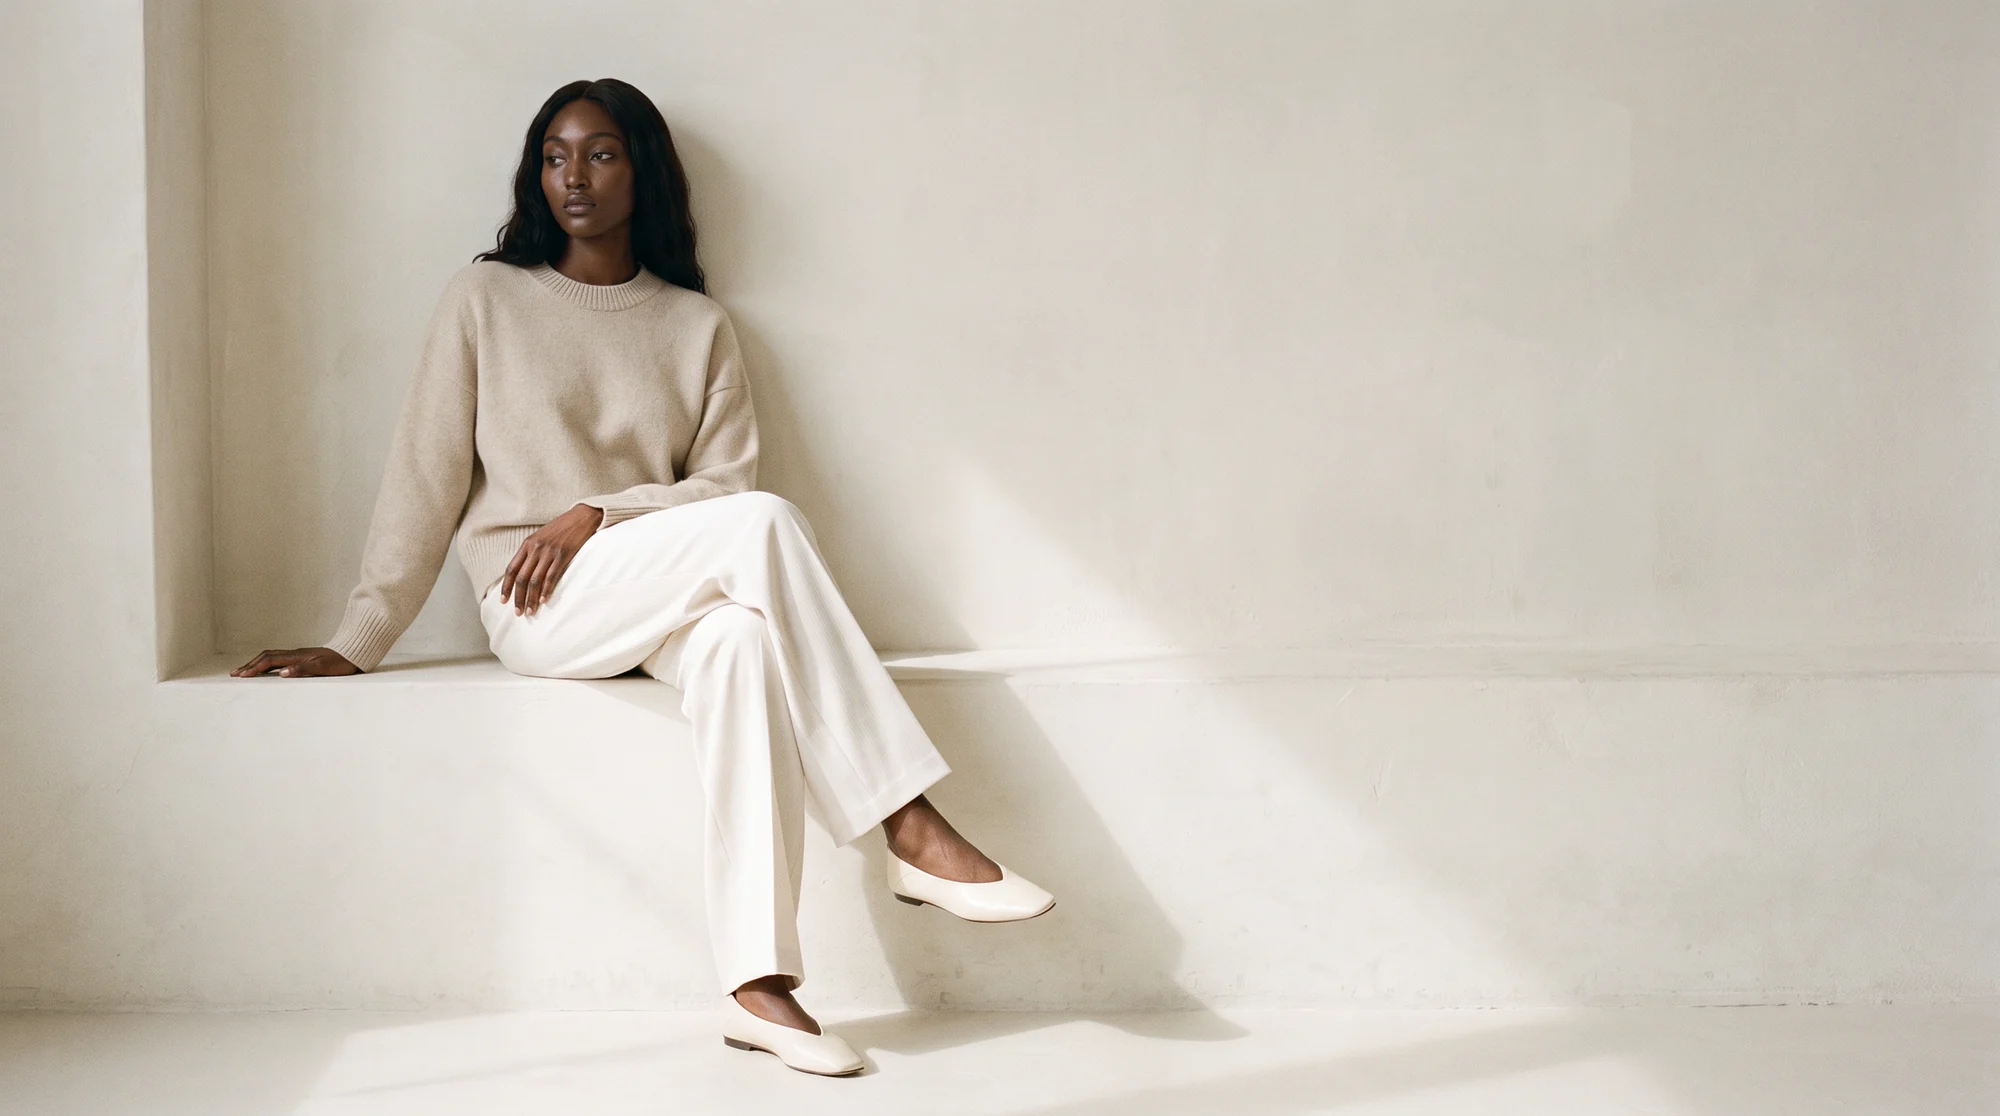
Flat lay to on-model conversion closes that gap. You upload the flat product photo you already have, and AI trained on fashion returns the same garment worn by a model, with the fabric, print, and fit intact. No shoot, no sample sent out, no new photographer.
This guide covers why the conversion matters, how it works from a single image, what separates good output from bad, and how to roll it out without gambling your catalog on it.
Why a flat lay leaves money on the table
A flat lay is an accurate record of a garment. It is not a persuasive one.
For clothing, the decision hinges on fit and proportion, and those are the two things a flat image cannot communicate. Apparel carries the highest return rates in ecommerce precisely because fit and sizing are hard to judge from a product page, and size, fit, or color is the leading reason an order gets sent back.
A flat lay makes that judgment harder than it needs to be. An on-model image makes it easy, and it does so for every visitor, not just the ones who scroll or click through a gallery.
The economics used to justify the compromise. Shooting every product on a model meant models, a studio, and a schedule. That is no longer the trade-off.
How flat lay to on-model works
| Source image you already have | Converts to on-model | What to watch | Typical result |
|---|---|---|---|
| Flat lay on a clean surface | Yes | Even lighting, no heavy shadow | Strong, most common input |
| Packshot on white | Yes | Sharp focus on fabric texture | Strong |
| Ghost mannequin shot | Yes | Silhouette already correct, so fit reads well | Strong |
| Shot still on the mannequin | Yes | Form removed in the same pass | Good |
| Existing on-model photo | Yes, for new models or framing | Original pose limits options | Good |
| Stylised lifestyle shot | Not recommended | Background clutter and mixed light | Weak input, weak output |
The workflow starts with the asset you already own. Upload a flat lay, a packshot, or a ghost mannequin shot, exactly as it sits in your catalog.
The AI reads the garment itself, its cut, color, print, and proportions, then renders it worn by a model you choose, in the framing and aspect ratio the placement needs.
The garment does not get reinterpreted. It gets worn. That distinction is the whole point, and it is what separates a fashion-specific tool from a general image generator that will happily invent a similar-looking top.
Because the input is one still image, a single product can produce a set: several model types, several poses, a square crop for a feed and a wide one for a banner, all without a second upload.

What separates good output from bad
This is where tools genuinely differ, and it is worth knowing what to look for before you commit a catalog.
Garment fidelity comes first. Hold the render next to the flat lay. A stripe that drifts, a print that repeats wrongly, or a neckline that changes shape means the tool is generating a similar garment rather than dressing yours.
Fit logic comes second. The model should be wearing the size the garment actually is. A piece rendered a size too tight looks better and sells worse, because the shopper who receives it sends it back.
Consistency comes third. Run five products from the same category and compare them. If lighting, framing, and model treatment drift between them, the category page will look assembled from different shoots.
Then judge the hard cases. Sheer fabrics, fine knits, and busy prints are where weak output reveals itself, so test those rather than a plain cotton tee.
The business case, in order
1. Quality that survives the conversion
The output has to remain a photograph of your real product. Fabric, print, drape, and fit all need to come through, because an image that misrepresents a garment costs more in returns than it earns in clicks.
2. Consistency across a whole catalog
Converting one product well is easy. Making product two hundred match product one, in look and lighting and treatment, is what lets you convert an entire category rather than a handful of hero styles.
3. Reliability at volume
Most brands are not converting ten images, they are converting thousands. A workflow that holds up at that scale matters more than a single impressive sample.
4. AI paired with a human check
Fashion punishes small errors. Botika runs its AI alongside a dedicated QA and retouching team that reviews output before delivery, which is what lets a brand publish converted imagery without inspecting every file by hand.
5. Cost that stops rising with volume
Traditional on-model production gets more expensive with every product and every variation. Converting assets you already have moves that to a self-serve step, so scale stops being the thing that breaks the budget.
How to roll it out
Feed it good inputs. A sharp, evenly lit flat lay of the actual garment converts better than a soft or shadowed one. The render inherits whatever the source gives it.
Start where it pays. Convert your highest-traffic products first, watch conversion rate and return rate for a few weeks, then widen it once you have your own numbers rather than someone else's.
Keep the flat lay. It still works as a secondary image for shoppers who want to see the garment plainly, and it costs nothing to leave in the gallery behind the on-model shot.
Standardise the treatment. Pick your model set, framing, and background conventions once, then apply them across a category so the page reads as one brand.
Common questions about flat lay to on-model conversion
Can AI turn a flat lay into an on-model photo?
Yes. The flat image is the input, and the output is that same piece on a model you pick. Nothing gets shipped to a studio and nobody gets booked.
Does the garment stay accurate?
A tool trained specifically on clothing holds the weave, the print placement, and the way the garment actually hangs. The QA pass is there for the edge cases it does not.
What kind of source image works best?
A clean, evenly lit flat lay, packshot, or ghost mannequin shot of the real garment. Sharper and simpler beats stylised, since the render inherits the source.
How many images can I get from one flat lay?
As many as you want to test. One upload can produce the same garment on different model types, in different poses and aspect ratios, for each placement you need.
Should I stop shooting flat lays?
No. Keep them as secondary images. They show the garment plainly and they are the input the conversion runs on.
How fast is it compared with a shoot?
Minutes per image from an existing photo, against the days or weeks a shoot takes to schedule, produce, and retouch.
Where this is heading
The flat-lay-only product page is on its way out, not because flat lays are bad, but because the reason to stop at one has gone. When any existing product photo can become on-model imagery in minutes, showing clothes on a body becomes the baseline rather than the upgrade.
Discovery is moving too. A growing share of product research now starts inside AI-powered search and overviews, which favour brands whose product content is clear and complete. On-model imagery across a full catalog reads as more complete than a wall of flat lays.
There is a cheap way to find out whether any of this holds for your products. Convert a single category, leave the rest of the catalog as it is, and compare conversion and return rates over a few weeks. That is a real answer on your own traffic rather than a benchmark from someone else's.
The quickest way to judge it is on your own catalog. See how Botika builds on-model imagery from photos you already have, browse the model roster, or start a free trial and convert a single flat lay to see what comes back.